How to Create a View but Did Not Add to Cart Automation
Flashy identifies and tracks your customers' actions on your website so that you may use this information for personalized communication with them.
Many customers visit your website and view products of interest to them but do not add them to their cart.
Unlike the abandoned cart automation, the viewd products automation will funnel in customers who just viewd products, even if they did not add them to their cart.
Approaching such customers with dynamic content regarding the viewd products, sending them a message such as "Hi Jane, we've noticed that you were interested in these products . . . if you have any questions or need any assistance with your order, we are here to help . . . ", even adding an incentive in the form of a discount coupon, may motivate customers to go ahead and make a purchase.
Creating a View but Did Not Add to Cart Automation
First, you will need to create an email template containing the messages you want to send your customer. Click here for detailed explanations about creating email templates.
It is highly recommended that the template will contain the "Dynamic Content" element which will display to the customer the products that they viewd (just like with dynamic remarketing on Facebook or Google). Click here for an article about the dynamic products element.
You may also want to read our article about creating dynamic coupons if you plan to include a one-time discount coupon in the template.
Click "Automations" on Flashy's top toolbar.
Click "Create Automation".

Select the "Create automation from scratch" template.
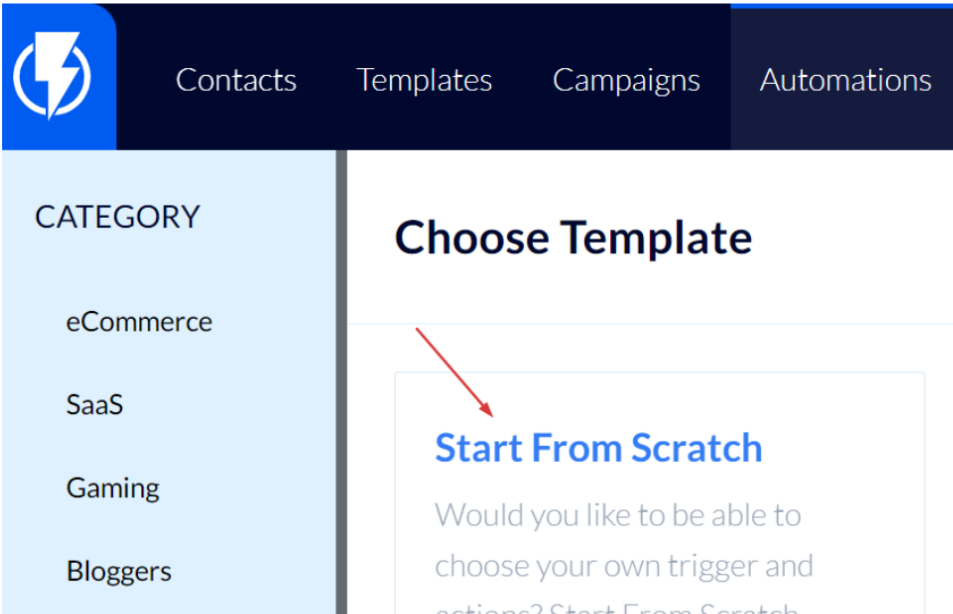
- Please note: In this article, we have chosen to describe creating a viewd products automation from scratch. Alternatively, you may select, from this page, a ready-made automation template for customers who viewd products but did not add them to their cart, and then edit its settings and messages to fit your preferences.
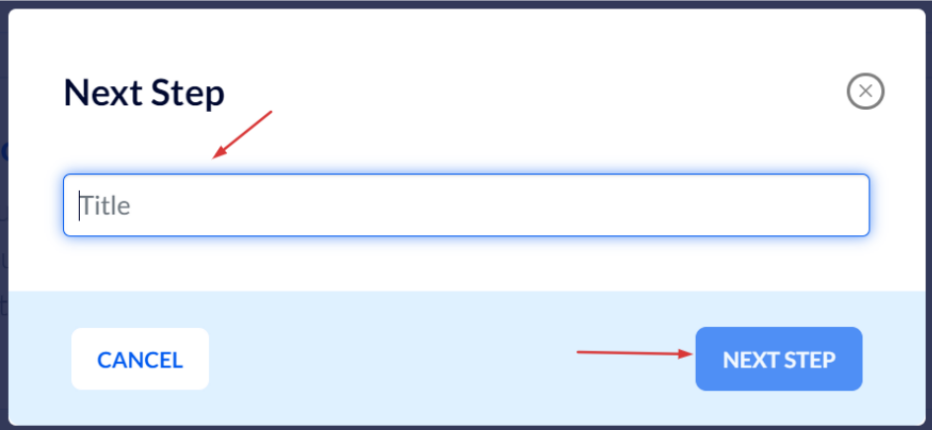
Enter a title for the automation and click "Next Step".
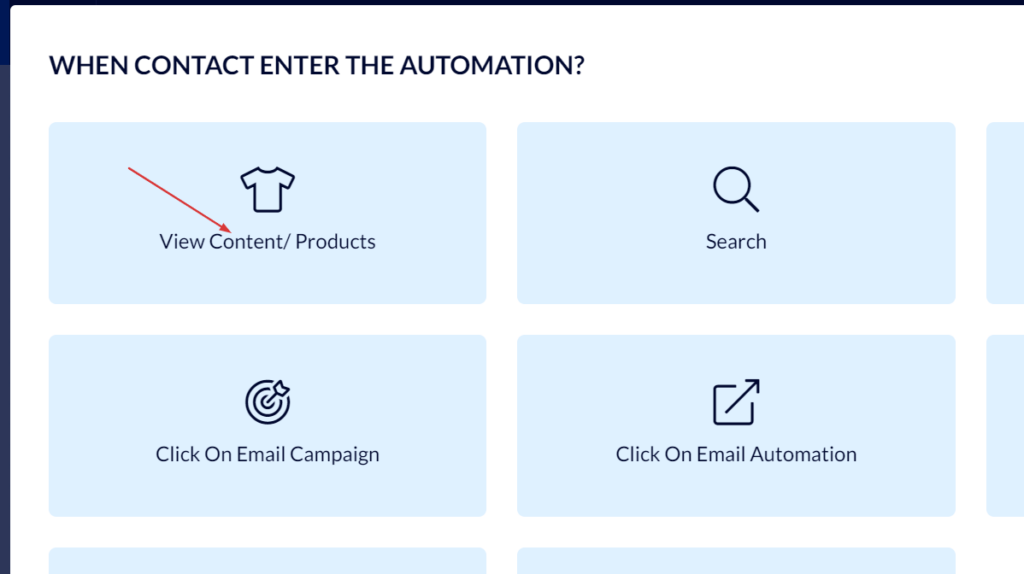
On the automation's screen click "Add Triggers".
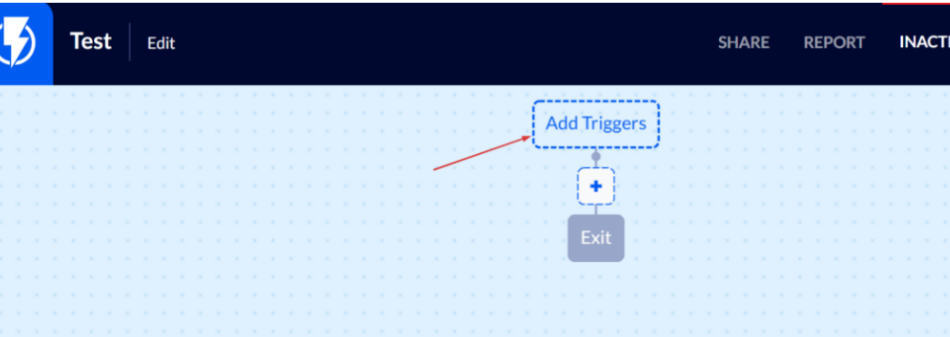
Select the "View Content / Products" trigger.
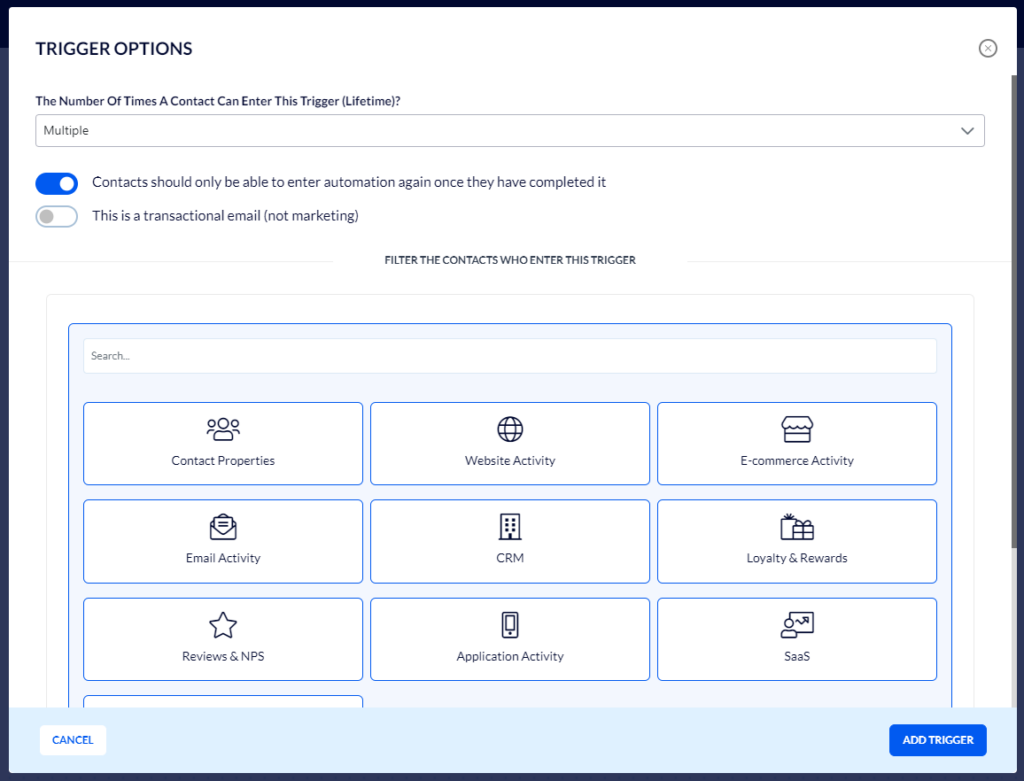
Fill in the following details:
Set The Number Of Times A Contact Can Enter This Trigger (Lifetime).
Important! – selecting "Multiple" is recommended so that every time the customer views products they will enter the automation. But, you do not want the customer to enter the automation more than once at any given time so that they do not receive multiple messages (one for each time they view a product).
To prevent this from happening set the trigger so that the customer will have to complete the entire automation before they may enter it again.
To carry this out make sure the button "Contacts should only be able to enter automation again once they have completed it" is activated.
- Please note, if you have an abandoned cart automation and wish to exclude customers who are already in the abandoned cart journey – you can add the "contact's automation status" filter, select "not in automation", and then select the relevant automation (in this case, your abandoned cart automation).
Finally, click "Add Trigger".
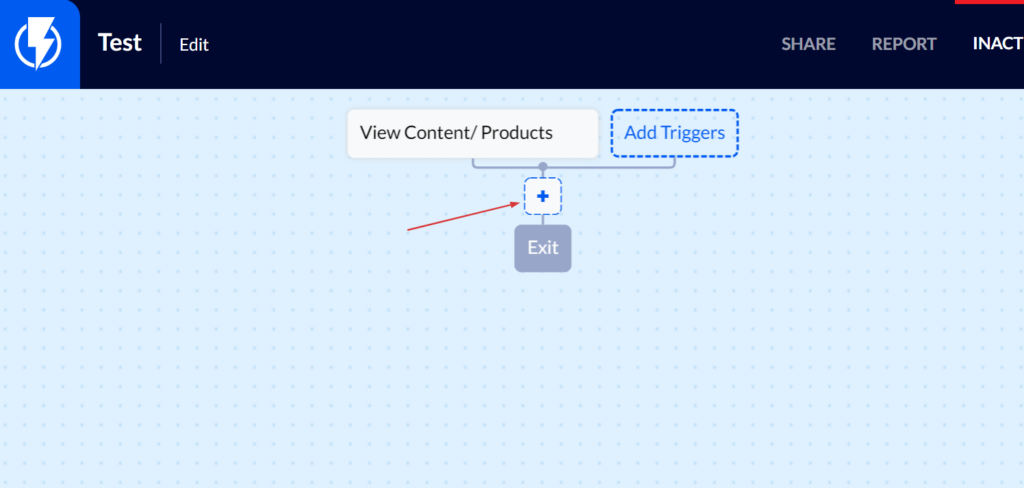
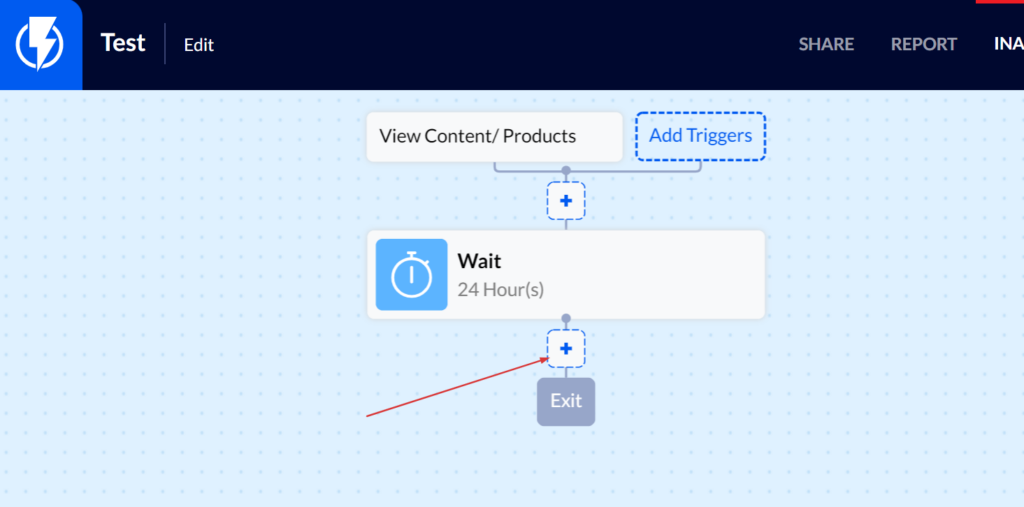
Now, add the action you want to occur once a customer has viewd products.
Click the blue "+" button (the button for adding an action).
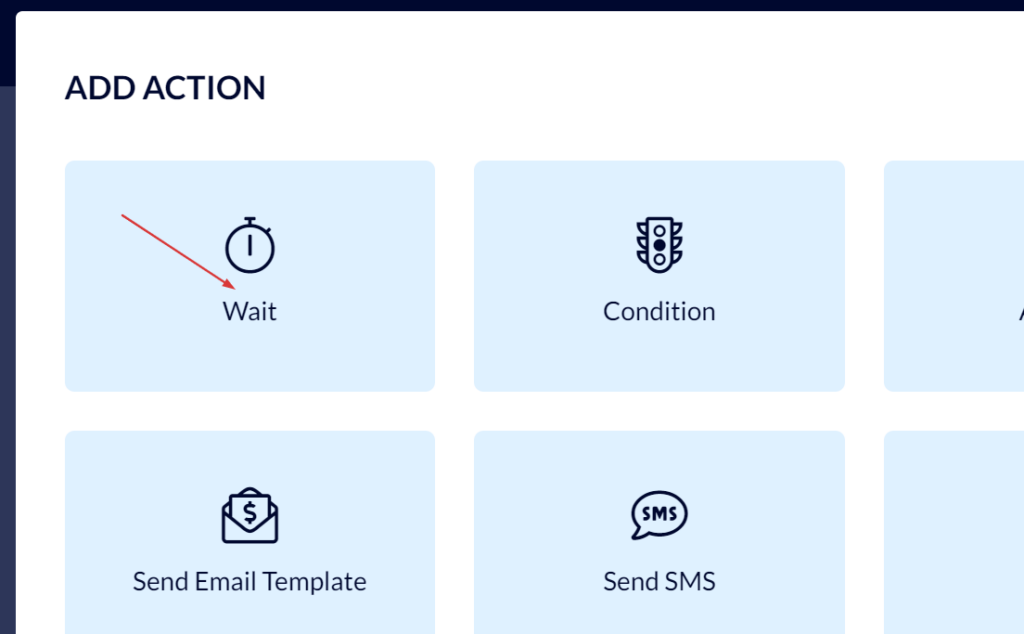
Select the desired action, in this case "Wait" because you do not want a message to be sent to the customer immediately after they view a product (they may still be continuing along with their purchase journey).
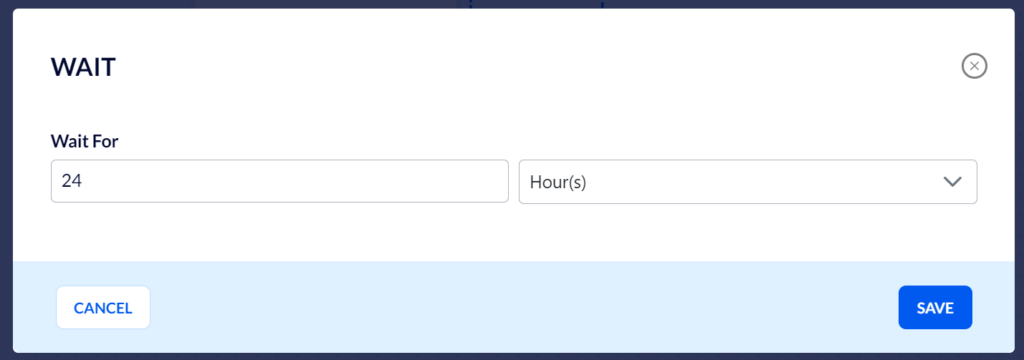
In the menu that opens fill in the following details:
Set the amount of time you want to wait from the moment the customer viewd a product until executing the next action.
In this example, we chose to wait 24 hours from the moment of browsing the product.
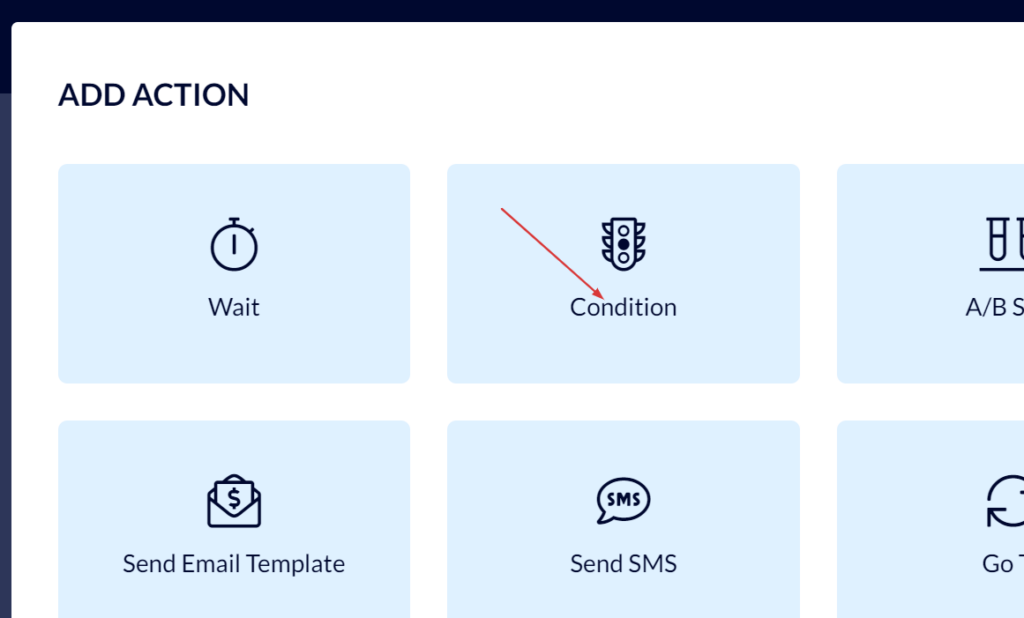
Now, select another action to occur after the holding time has elapsed. For instance, check if the customer has made a purchase or not (because you do not want to funnel into the automation all the customers who viewd products, only those who did not go on to make a purchase).
This is why you need to add a "Condition" action.
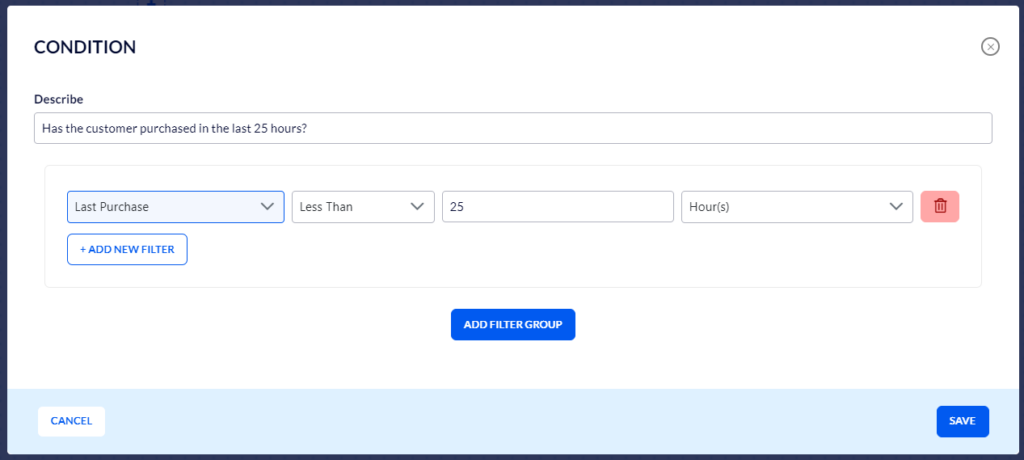
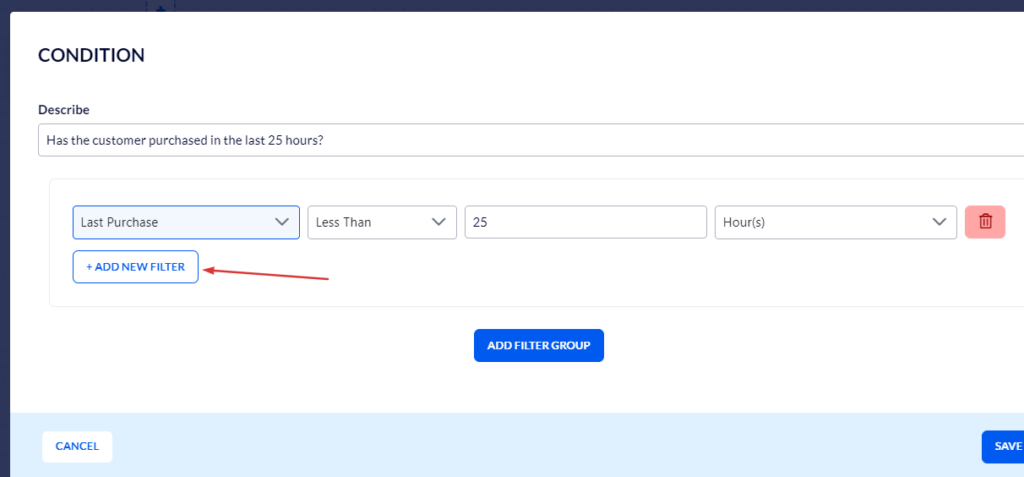
Select a title that describes the condition (for your own use in the automation chart, the customer will not see it).
Set a filter that will ensure that the customer did not make a purchase within the period of time set.
In the search box, fill in "Last Purchase"
In the screen that opens, fill in the relevant details.
- Setting the test to occur an hour later than the holding time is recommended, in case the customer made a purchase within the same minute of browsing the product.
Please note – if you have an abandoned cart automation and wish to exclude customers who have added products to their cart, so that they do not receive messages from both automations (viewd products and abandoned cart) – you will have to add the "Cart Last Updated" filter, set the time, and select "Match At Least One Filter".
For example:
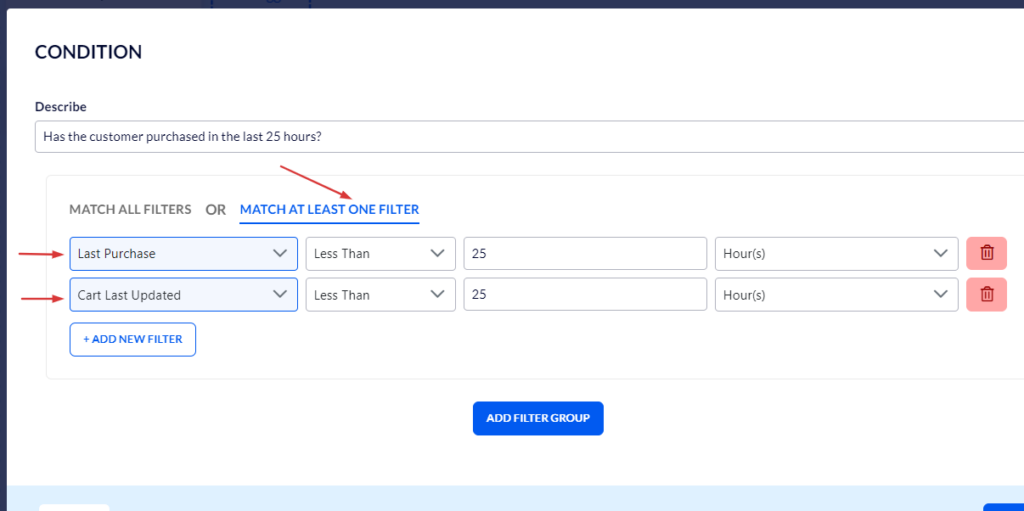
Finally, click "Save".
Now, we want anyone who did not make a purchase for longer than the waiting time we have set to continue with the automation and receive a message.
So, we will add another action by clicking the "+" button under the "No" path.
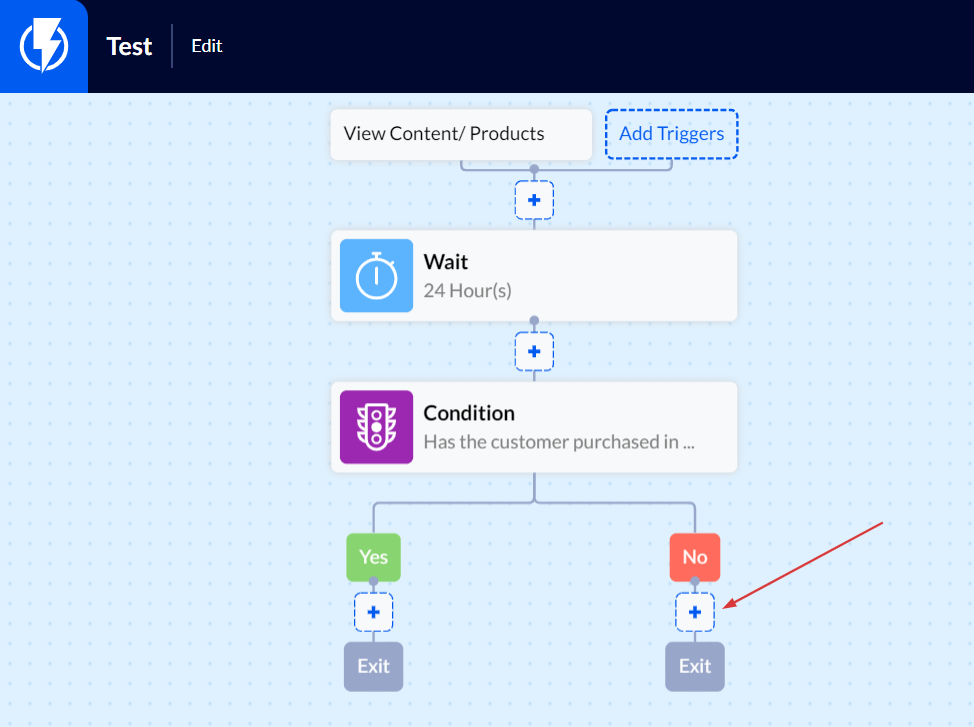
Now, select the next action that you want to occur for anyone who did not make a purchase within the timeframe set.
For instance, "Send Email Template".
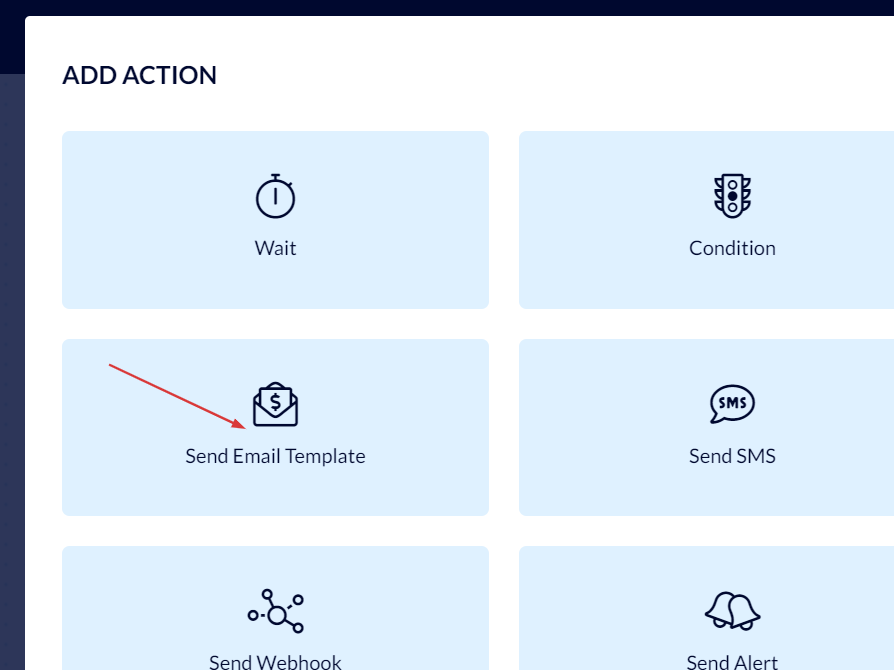
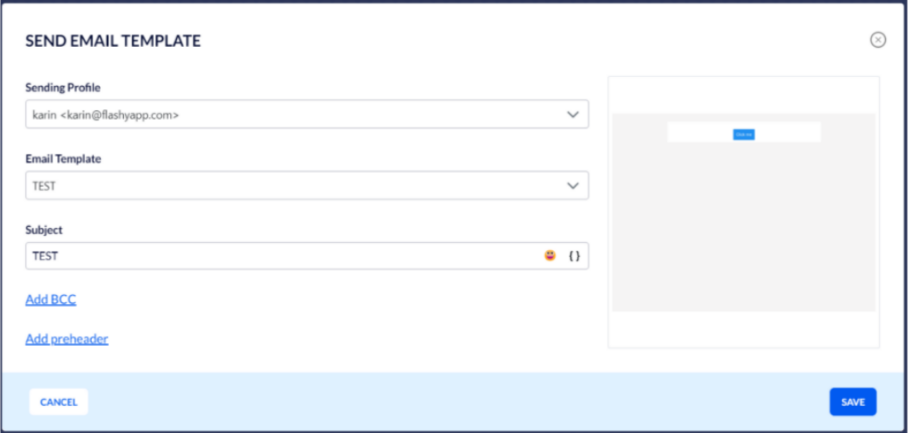
In the screen that opens, fill in the required details:
Make sure your sending profile is up to date.
Select the template you have created for this automation.
Under "Subject" fill in the subject that you want your customers to see as the subject of the email they receive (for instance: "We have noticed that you took interest in products of ours . . . ").
Finally, click "Save".
In the automation we have demonstrated, an email will be sent to any customer who did not make a purchase for over 24 hours from the moment they viewd a product on your website).
For anyone who did make a purchase within the set waiting time – the automation will end and no message will be sent.
You may expand the automation into a customer journey with many other options, conditions, and actions. For instance, if a customer does not return and complete their purchase within a week of receiving the first email – another email will be sent, or an SMS, with special offers of the week, etc.
Once you've completed setting up your automation, we recommend that you test it before activating it. Click here for instructions on how to test an automation.
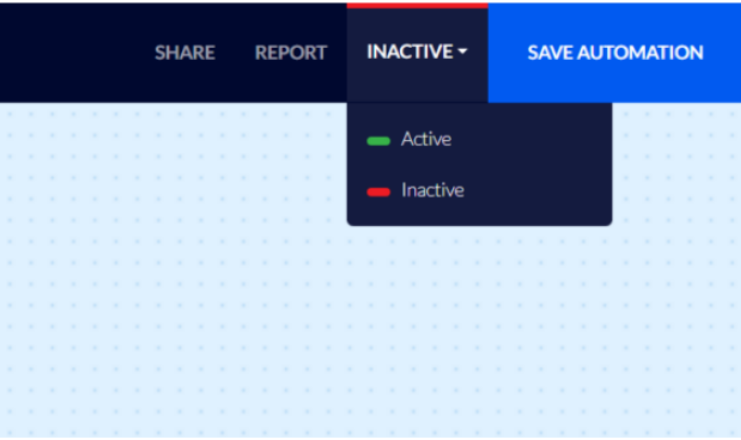
After testing the automation, activate it by clicking the blue activation button at the top right part of the screen.