
Automation Actions
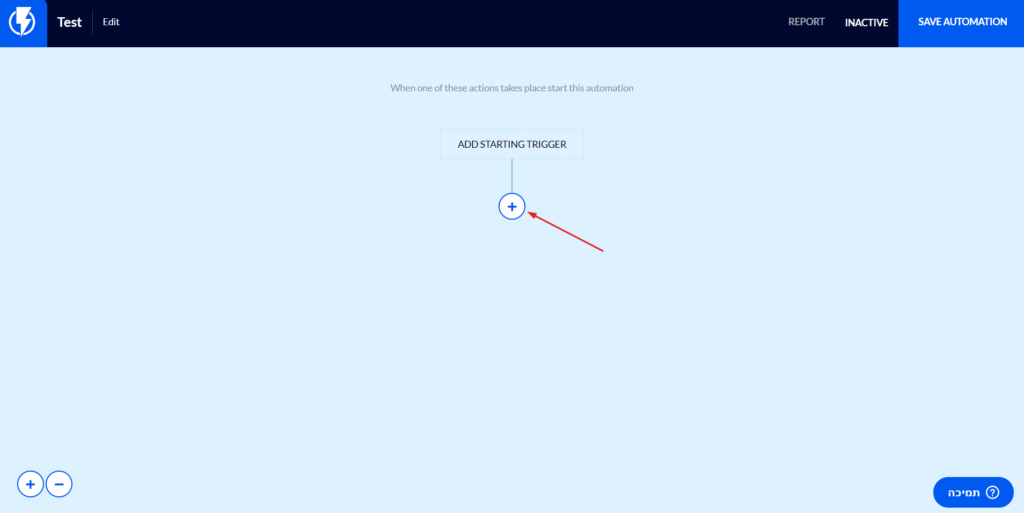
After choosing a trigger, the next step in the automation set-up process is to add actions. It is actions that bring your automation to life!
Read on to explore Flashy’s exciting selection of actions.
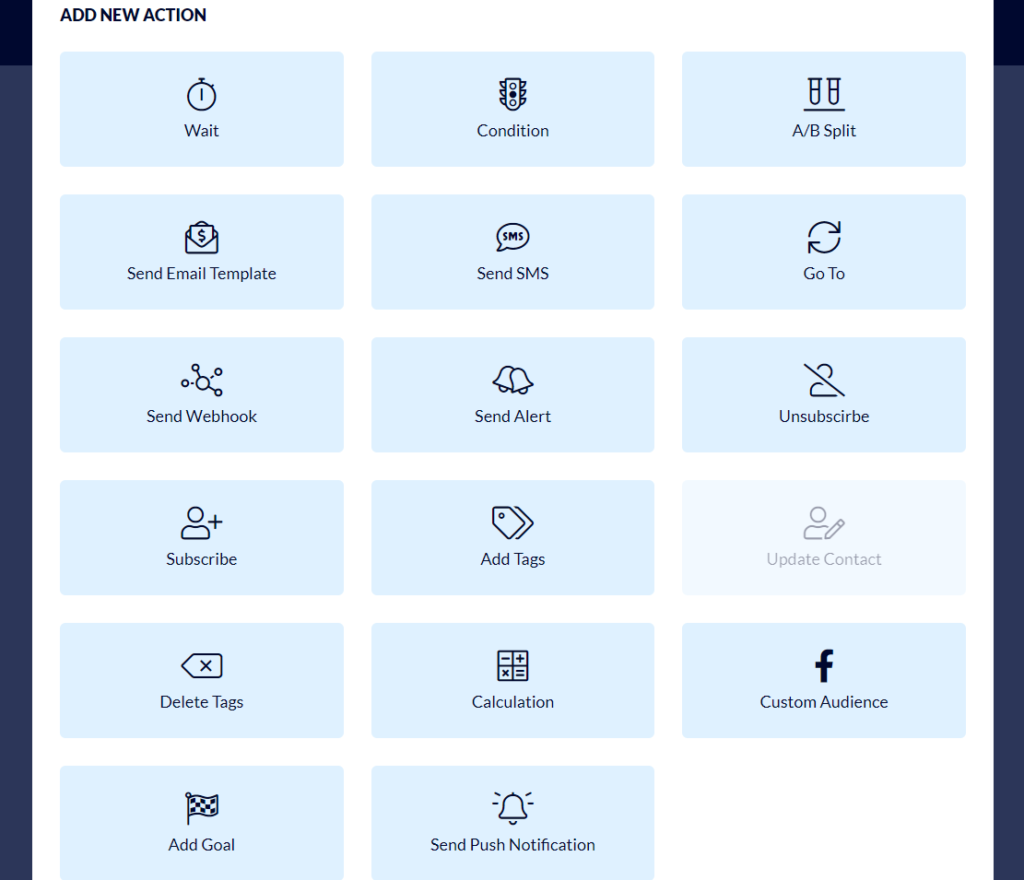
Wait
The Wait action is used in many different automation scenarios. With it, you can set a specific amount of wait time in which to see if a contact will perform a desired task.
- In the “Wait For” dropdown, choose a number of minutes, hours, days, or weeks for the waiting period.
- If choosing days or weeks, you have the option to use a Relative or Set Time. Relative Time means that the next action in the automation will begin at the same time as a previous event. For example, if a customer adds an item to their cart at 1:00 p.m. on Tuesday, and you set a waiting period of one day, the next action in the automation will happen at 1:00 p.m. on Wednesday. Use “Set Time” to choose a specific time and select the appropriate time zone.
- “Skip On Days” - Mark these checkboxes to indicate which days you don’t want the action to take place (which days you want to skip). For example, if you don’t want an email sent on Sunday, simply check the box for Sunday. If there is a specific day of the week that you do want to send the email, check off all the boxes except the one for that day.
Use Case Example: This action pairs well with the Add to Cart event. Set a time period in which to see if a customer purchases the item they’ve added to their cart.
Condition
One way to navigate within a customer journey is to create an automation that functions within certain conditions. Conditions can be added before any action to split the journey and tailor the message to the customer.
Let’s say you utilize the Wait action to set a waiting period of two hours to see if a customer purchases an item they’ve added to their cart. Then, go back to the Actions screen and click on Condition.
- In the “Description (internal use only)” field, enter a phrase that will be easily understood when you look back at the customer journey. This is optional and simply for your own convenience. Example: Enter “Customer made a purchase?”
- In the “Conditions” field, search for “Completed Purchase.” Set the fields for “less than” two hours, meaning the customer made a purchase in the last two hours. Click the “Add Filter Group” button.
- If the answer to “Customer made a purchase?” is yes, and you don’t add any other actions after this, the automation will end there. If the answer is no, the customer didn’t make a purchase, you may want to send him an email. This leads us into the “Send Email Template” action.

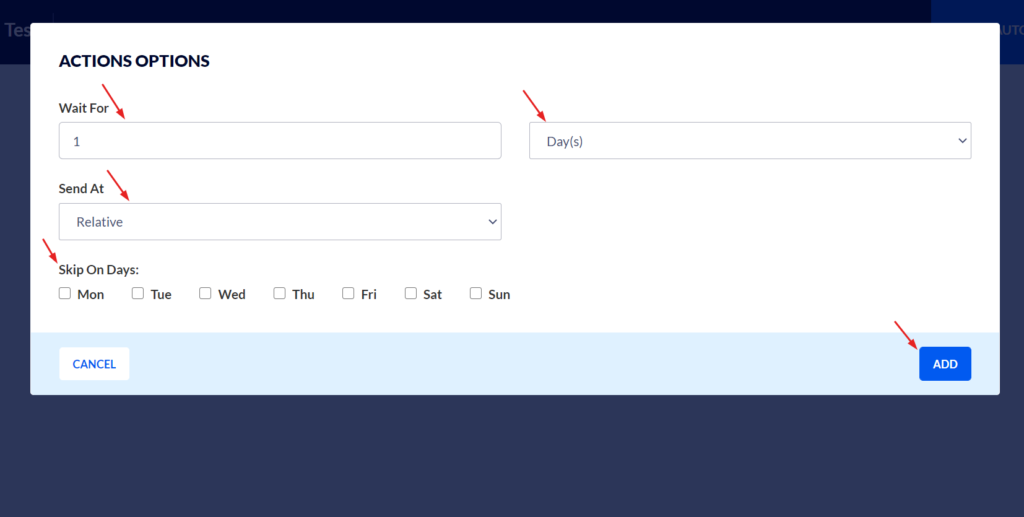
Send Email Template
Sending a well-timed email template to a customer who is on the fence about making a purchase may be exactly what is needed to close the sale.
- In the “Choose Sending Profile” field, enter the email address from which the email template will be sent.
- Select the email template you want to use; it will display on the right-hand side of the window. You can even edit it right there if desired.
- Enter the subject line of your email.
- Enter a bcc email address if you’d like to receive a copy of the email. Doing so can help confirm that it was delivered successfully.
- Add a preheader to the email if desired (optional). When viewing the list of emails in your inbox before opening them, the preheader is the line you see right after the subject line.
- Pro Tip: After completing the email template set-up, you may choose to use the Wait action again to see what the customer does next. For example, add a wait of two days and add a condition such as “Customer opened last email?”
A/B Split
The A/B Split enables you to test different courses of action with groups of customers to see which one produces the best result.
- Adjust the percentages for the A group and B group as desired. For example, you can divide them evenly at 50/50 and choose to send half of the customers an email and the other half an SMS message.

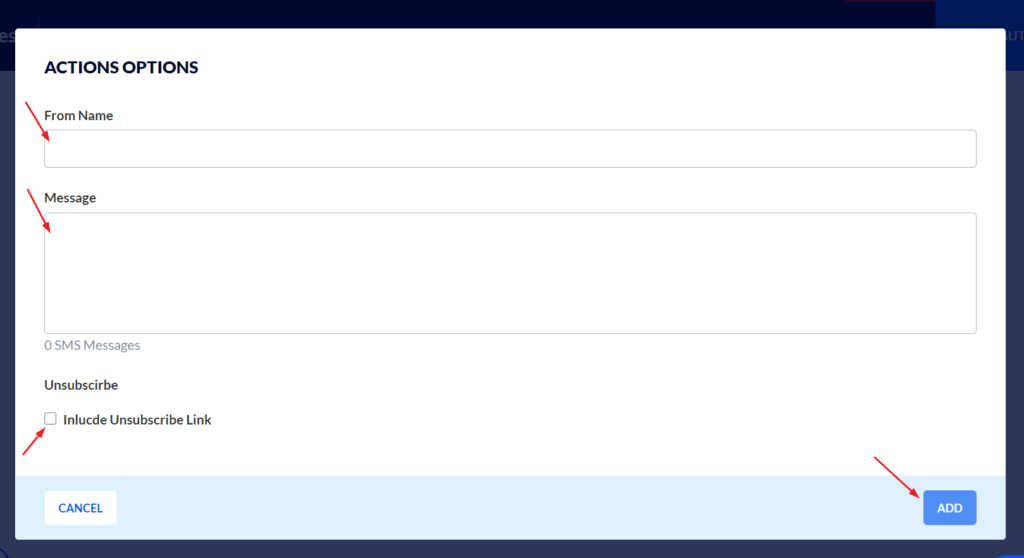
Send SMS
- Enter “From Name” to note who the sender is. Use only English letters, up to 12 characters.
- Enter your SMS message text.
- Add an unsubscribe link if desired (optional). Flashy automatically generates a different link for each contact. It will take them directly to their own profile where they’ll be able to unsubscribe from marketing.
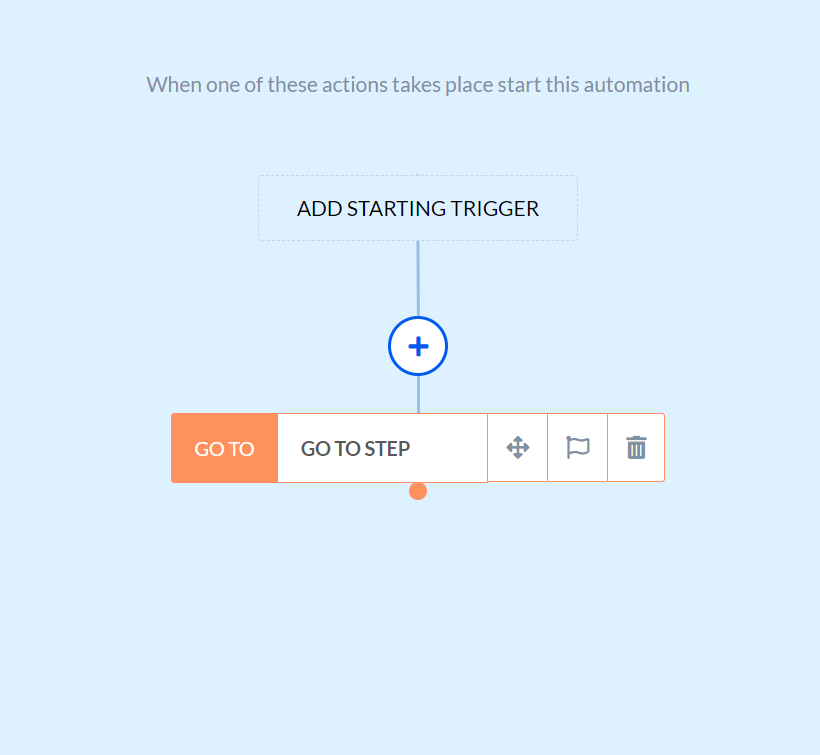
Go To
The Go To action is an advanced feature that gives you the option to jump from one point to another in the contact journey.
- To jump from one action in the journey to another, click on the dot that is underneath the starting action bar. This will open up an arrow that you can drag to the action you want to jump to.
- Use Case Example: Let’s say that the customer in the example above has made a purchase, and you decide to wait two days before performing another action. Instead of repeating the work you already did on the “no” side of the actions path (in which the customer did not make a purchase), you can jump from the “yes” side of the journey over to the point in the “no” side where you previously set up the email template action. In this way, you can create loops in the automation and always jump from one point to another point in the journey.
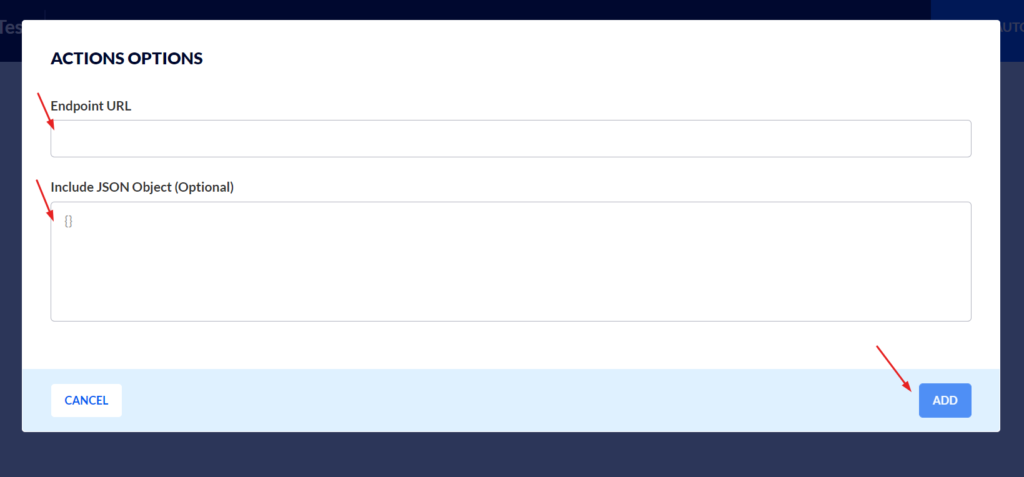
Send Webhook
The Webhook action enables Flashy to notify outside systems about customer actions. For example, if you have an external sales system, and you want that system to be notified if a customer has abandoned their cart, Flashy will send all of the customer information to the system so it can perform the required action. Webhooks allow your systems to communicate.
- Provide a link in the “Endpoint URL” field and Flashy will automatically send all of the contact info to this URL.
- Include the JSON Object if desired (optional). JSON is a type of format for sending specific information to a URL. Flashy will pass this information to the URL along with the contact data.
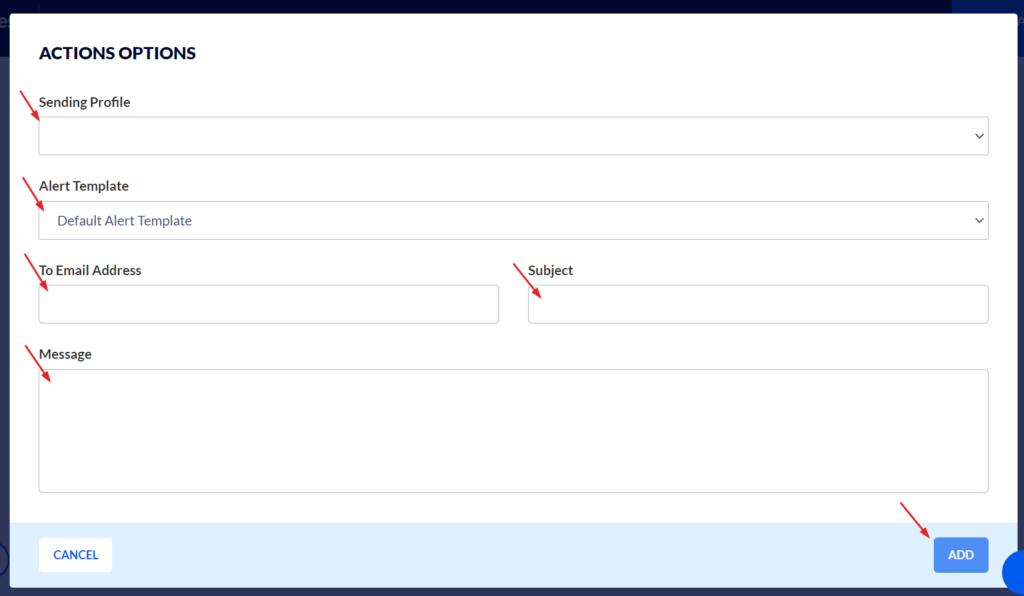
Send Alert
The Send Alert action is a way to communicate internally with your company’s personnel. It alerts the appropriate agents when specific contact events take place and prompts them to take certain actions.
- In the “Sending Profile” field, enter the email address the alert will be sent from.
- Alert Template - Choose Flashy’s default alert template or create your own custom template with the design and data you need.
- In the “To Email Address” field, enter the email of the agent you wish to alert.
- Choose a subject for the alert.
- Enter the message you want to convey to the agent.
- All of the contact’s information will be provided to the agent, as well as a link to view the contact’s profile.
Use Case Example: When a customer leaves $1,000 worth of items in their cart, an alert can be sent to one of your agents so they can contact the customer and offer to help them complete their purchase.
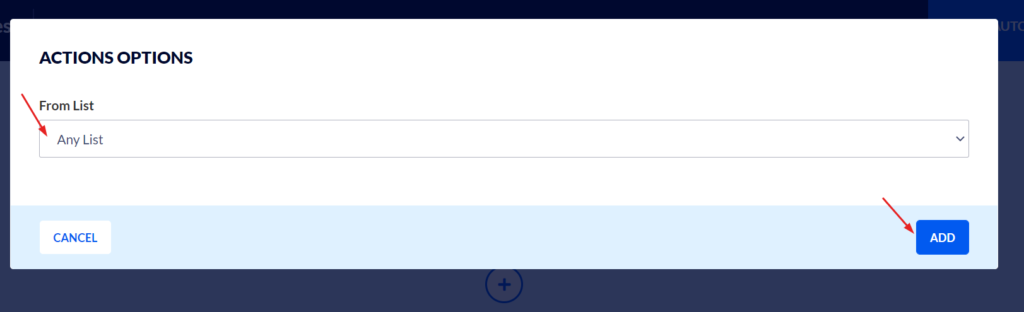
Subscribe and Unsubscribe
These two actions are straightforward ways to add or remove contacts from specific lists.
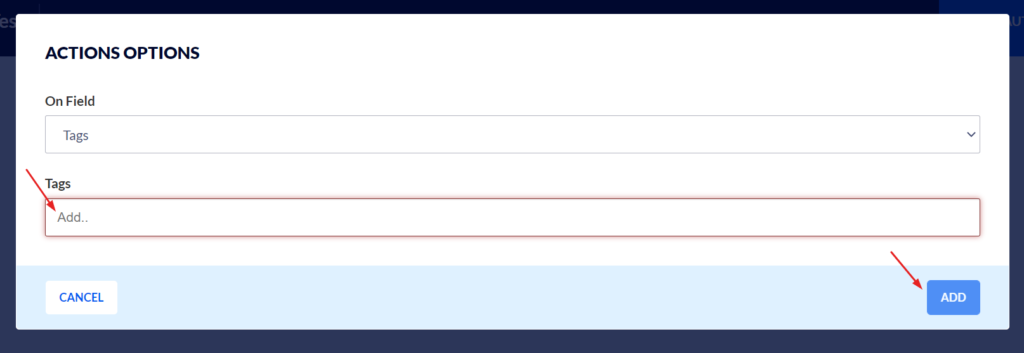
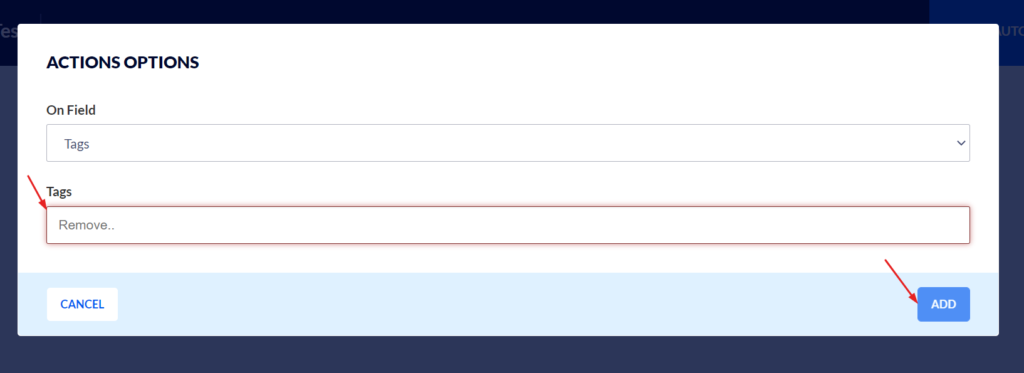
Add and Delete Tags
Adding Tags to your contacts is a great way to classify them by their interests or behavior. You can enter any text you like as a tag. The Delete Tags action simply removes tags from contacts.
Use Case Example: If you own a clothing company, you might choose to add tags like “jeans-lover” or “blue” (as a customer’s favorite color).
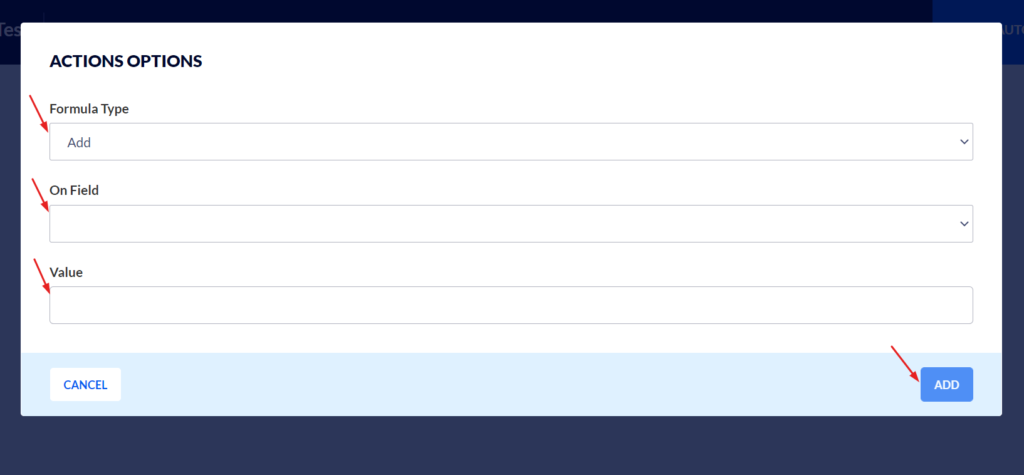
Calculation
The Calculation action enables you to lead score your contacts based on their behavior. This means that you can add or subtract points from contacts in order to prioritize the ones who are expressing the greatest interest in your business.
- “Formula Type” - Choose “Add” or “Subtract.” For example: Every time a contact opens an email, you may choose to add two points for them. Anytime a contact leaves an email unopened for a specified amount of time, you might subtract two points.
- “On Field” - Choose the desired contact field - for example, “Total Spent.”
- “Value” - Assign a number of points.
Use Case Example: A business might want to make a segment or start an automation on any contacts who have reached 50 points so they can reach out and engage these VIP customers further.
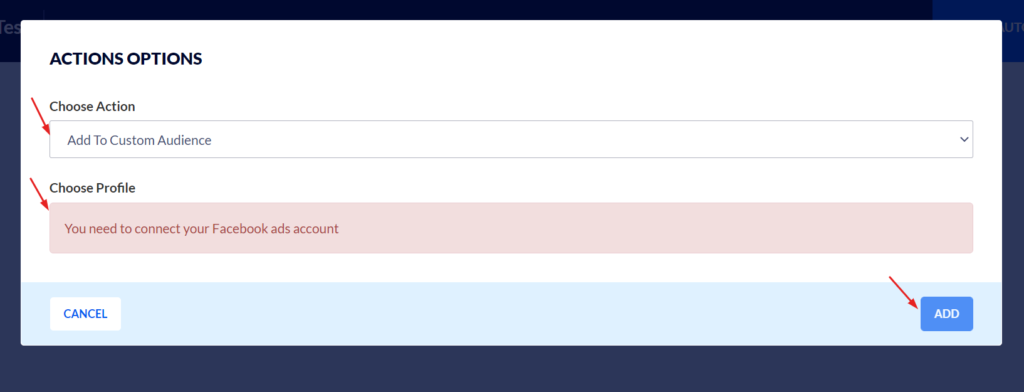
Custom Audience
The Custom Audience action is used to add contacts to or remove them from specific audiences on Facebook. It provides a convenient way to create a full journey of ads to share with targeted contacts. Set up this action once and you will never have to manually update Facebook on your new contacts again! Flashy manages it all for you.
- “Choose Action” - Add or remove a contact from a Custom Audience.
- “Choose Profile” - Connect to your Facebook Ads account if you haven't already. Choose your desired Facebook account.
- Select your Ads Account.
- “Choose Audience” - Create this in advance on Facebook.
- Click the blue “Add” button to add the contact to the custom audience.
- Use Case Example: An eCommerce business may choose to use the Custom Audience action to send a Facebook ad to contacts who have purchased from them three or more times.
Pro Tip: Did you know you can create a “lookalike” audience on Facebook? Once you’ve built a custom audience of your best customers, Facebook can search for new contacts who are most similar to them based on purchases, lifetime value, etc.. Facebook then compiles a lookalike target audience for you, and shows them your ads.
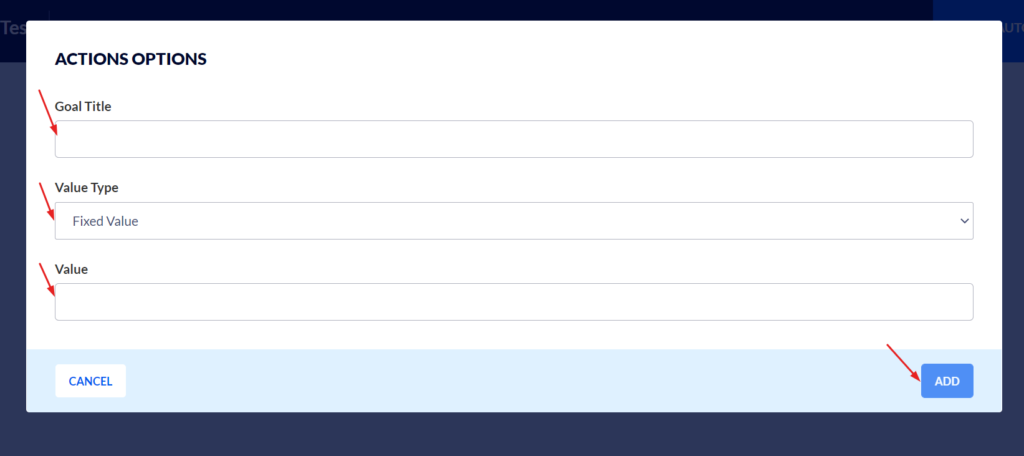
Add/Report Metrics
The Add/Report Metrics action allows you to monitor the behavior of contacts around specific goals you set for them inside the automation. It is best explained through an example:
Say that your eCommerce business decides to do an A/B split with your customers. You send an email with a 10% off coupon to the A group. To the B group, you send a buy-one-get-one-free offer.
After a time, you want to check on the number of purchases each group made.
- In the “Goal Title” field, enter a phrase such as “Path A Number of Sales.”
- For “Value Type,” select “Relative Value” (can also choose “Fixed Value” in a different scenario).
- In “Content Type,” choose “Purchases.”
- The “Formula Type” will be “Count Occurances” (i.e. number of purchases made on the path).
- Choose a specific time frame; for example “In the last 30 days.”
Follow the same process above for Path B, and compare the results (found on the automation report page) of the two groups to determine which path was more successful.
If desired, you can also check the value of the revenues generated by each path:
- Change the goal titles to Path A or B Revenues, or a related name.
- Set the Formula Type to “Sum All Values.”
- In the “What to Calculate” field, select “Order Value.”
- Compare the revenues of each group.
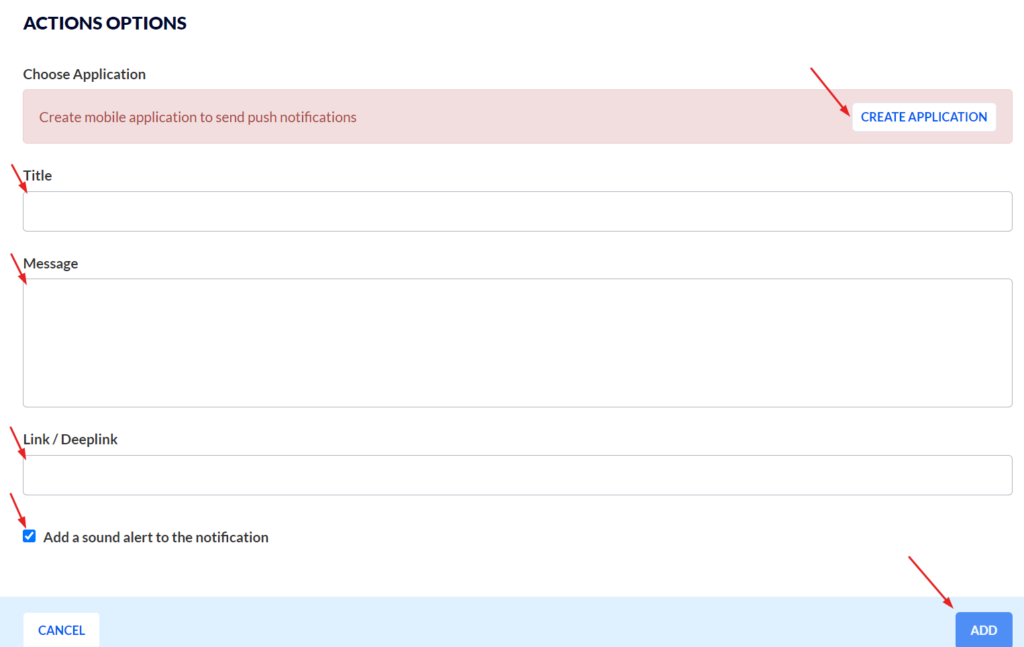
Send Push Notification
This action is used with mobile applications. Flashy supports Android or iOS. If you’re a business with an app, this action will come in handy!
- Create an application if you haven’t already.
- Add a title for your notification.
- Add the message you wish to send.
- Add a link to send push notifications to an application.
- Check the box to add a sound alert to the notification (optional).
With Flashy’s many different and dynamic action options, you have the tools you need to increase your revenues through meaningful, productive interaction with your customers. Time to take action!
