How To Create a Post-Purchase Feedback Automation
To increase the scope of positive reviews about your products, you can create an automation inviting your customers to give feedback regarding the last purchase they had made.
Creating a Post-Purchase Feedback Automation
First, you must create an email template containing the messages you wish your customers to receive. Click here for a detailed explanation of creating email templates.
It is highly recommended that the email template will contain the "Dynamic Content" element which will display to the customers the last products they purchased. Click here for the article about dynamic products.
Click "Automations" on Flashy's top toolbar.
Click "Create Automation".

Select the "Start From Scratch" template.
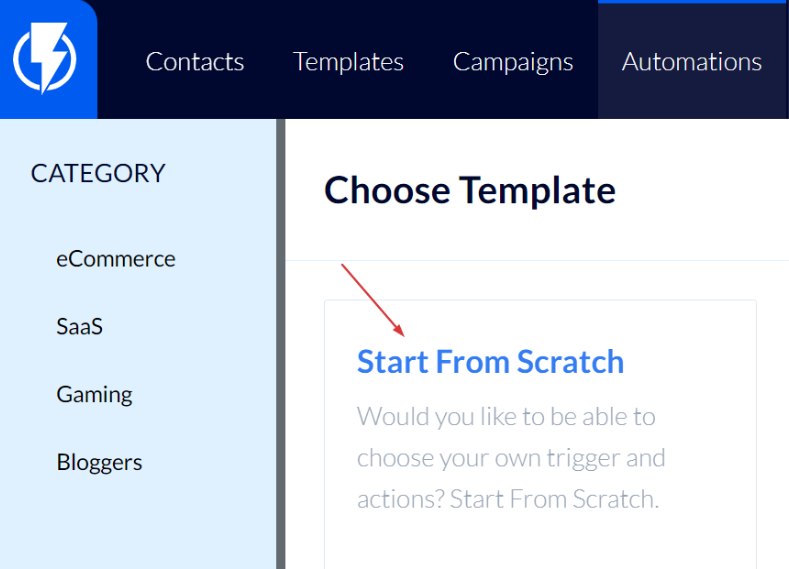
- Please note: in this article we chose to describe creating a post-purchase feedback automation from scratch. Alternatively, you may select a ready-made template found on this page and then edit its settings and messages according to your preferences.
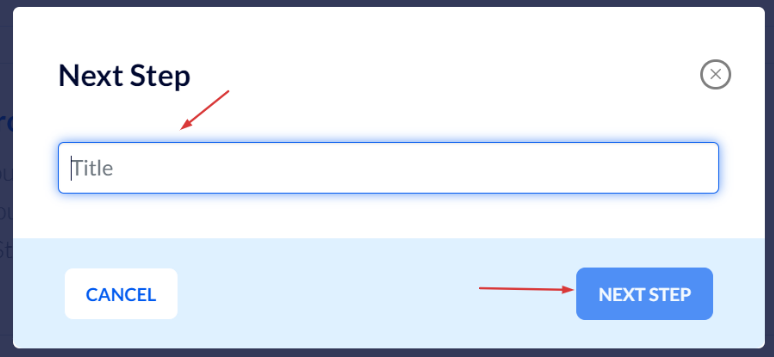
Fill in a title for the automation and click "Next Step".
In the automations screen click "Add Triggers".
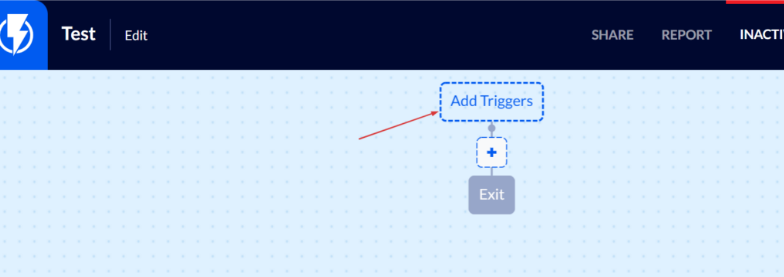
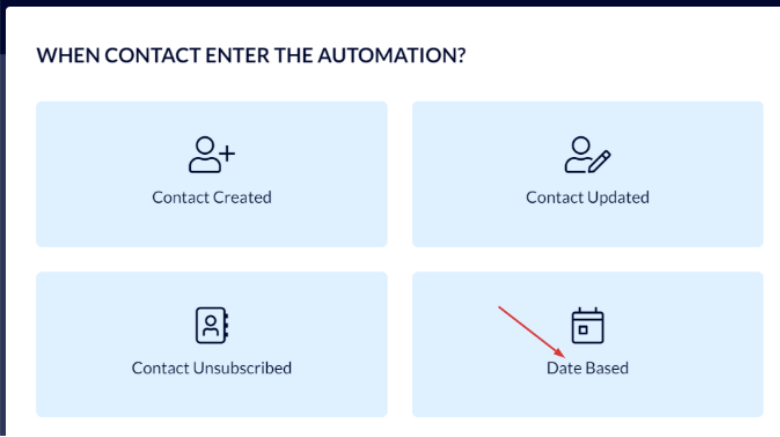
Select the "Date Based" trigger.
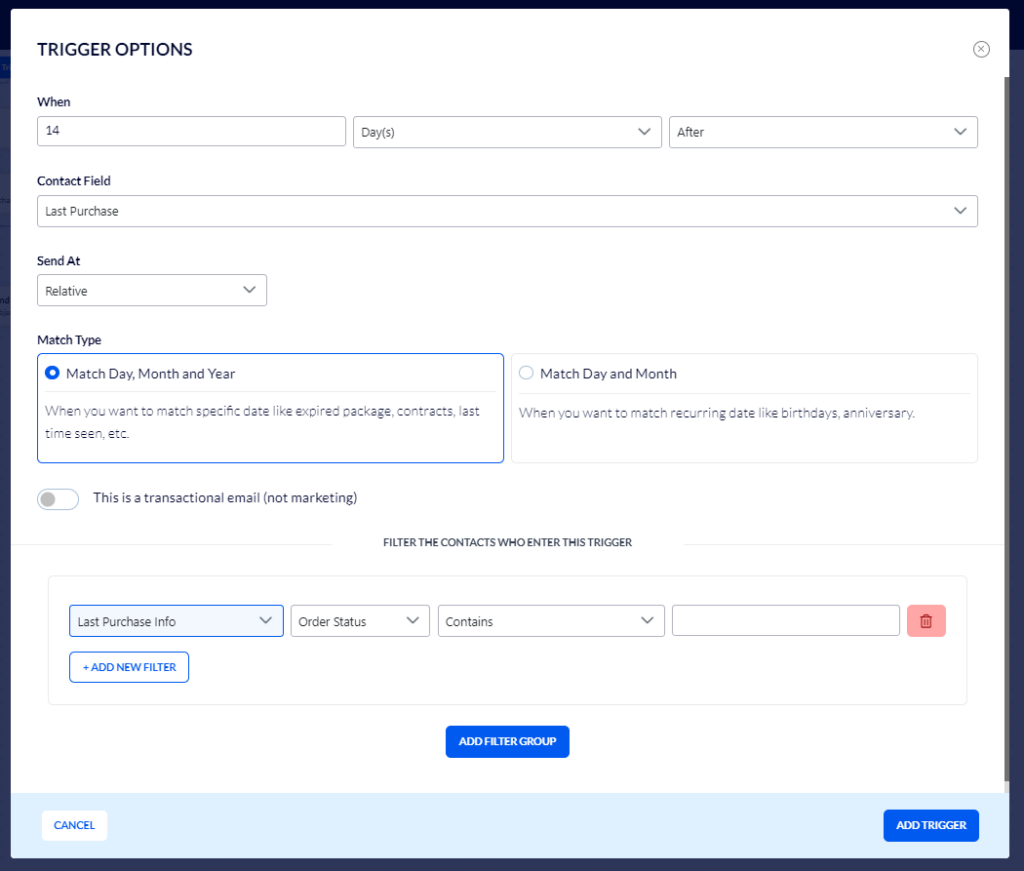
Now, fill in the following details:
Under "When" – set the time when you want the customer to receive the message.
We do not want to send this email immediately after the customer made the purchase, so, it is recommended to set a time that allows a reasonable period for shipping and having the customer begin to use the product.
Under the "Contact Field" – select "Last purchase".
In the filters' quick search add the "Last Purchase Info" filter, and fill in the status value that indicates the order has been completed on your eCommerce platform (we recommend making certain that the order was paid for or not canceled).
Use only lowercase English letters for filling in the status.
Please note – the order status refers to the status sent to Flashy from your eCommerce platform. For instance: processing, canceled, completed, etc. This means that from this status the order's current situation can be deduced.
You can test-run a purchase on your website and check to see the status of completed and paid-for orders.
Finally, click "Add Trigger".
Examples of different statuses on different eCommerce platforms:
WooCommerce – https://docs.woocommerce.com/document/managing-orders
Shopify – https://help.shopify.com/en/manual/orders/order-status
Magento – https://docs.magento.com/user-guide/sales/order-status.html
With stores that are custom integrated with flashy – that is, with code-built websites, not stores set up on one of the above-mentioned platforms, the programmer must manually set up status reporting to Flashy. If this has not been done on your website there is no point in adding the "Last Purchase Info" filter.
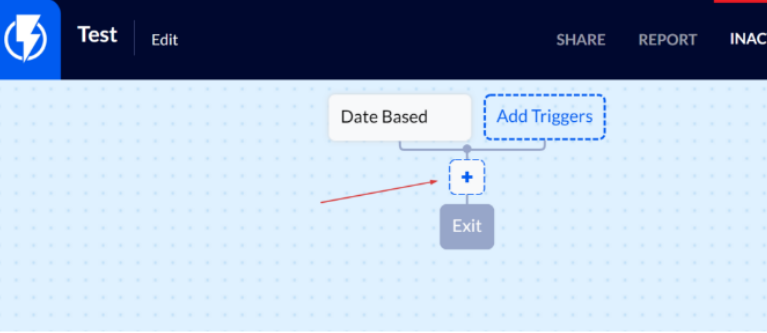
We shall now add the action we want to occur for those whose last purchase meets the required conditions and has been completed.
Click the blue "+" button to add the action:
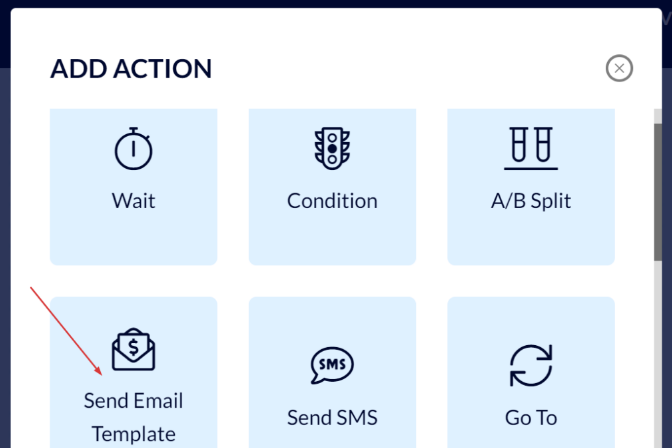
Select, for example, "Send Email Template".
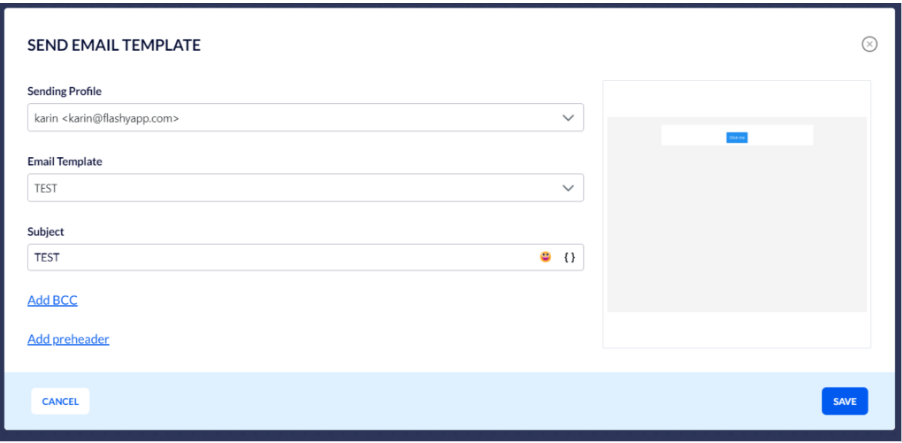
In the screen that opens, fill in the required details:
Make sure the sending profile is updated.
Select the template that you created for this automation (in this template you must forward recipients to the web page where they can leave their feedback).
- If you have a designated place for feedback on your website you may forward recipients there (you may create such a place if you do not yet have one). Alternatively, you can forward customers to leave reviews on Google / Facebook, or on any other platform or website that you prefer.
Under the "Subject" field fill in whatever you want the subject of the email sent to your customers to read (for instance: "We will be glad to get feedback from you . . . ").
Finally, click "Save".
In the automation described above, an email requesting feedback will be sent to all customers who complete a purchase (according to the status from your Ecommerce platform that you set in the "Last purchase details" box), 14 days after the purchase was made.
Once you complete setting up the post-purchase feedback automation, testing it before activation is recommended, click here for the guide on testing automations.