
How to Create a Date Based Automation (Customers who had Not Made a Purchase for Over 90 Days For example)
Flashy enables you to set up date-based automation for sending communications when different scenarios occur.
For example, you may want to create automations for:
- Customers who had not purchased within the past 90 days.
- New customers who subscribed to your mailing list and had not made a purchase within the past 30 days.
- Customers who had not visited your website for over 30 days.
This can easily be accomplished by following the steps described in this guide.
Setting Up a Date Based Automation
First, you will have to create a template for the automation containing the messages you want the customer to receive, this article explains how to create a template.
You may also want to read our article about creating dynamic coupons, in case you decide to include a unique coupon in the template.
Click "Automations" on Flashy's top toolbar.
Click "Create Automation".

Select the "Start From Scratch" template.
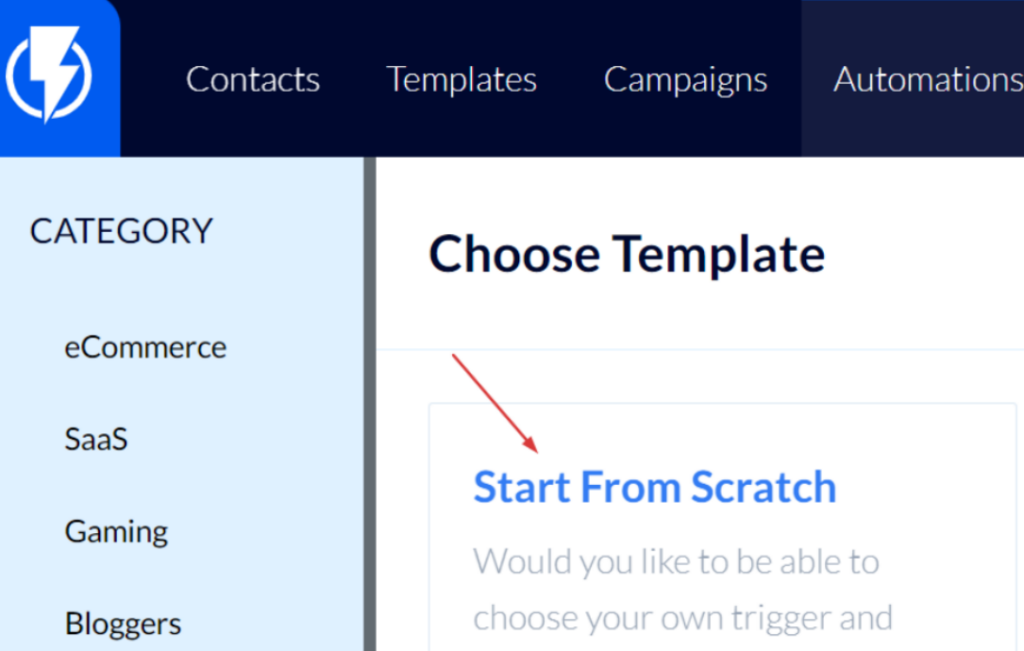
- In this guide, we chose to describe creating date-based automation from scratch. Alternatively, you can select one of the ready-made templates on this page (such as the "Win Back" – which is a date-based automation), and then edit its settings and messages to fit your preferences.
Fill in a title for the automation and click "Next Step".
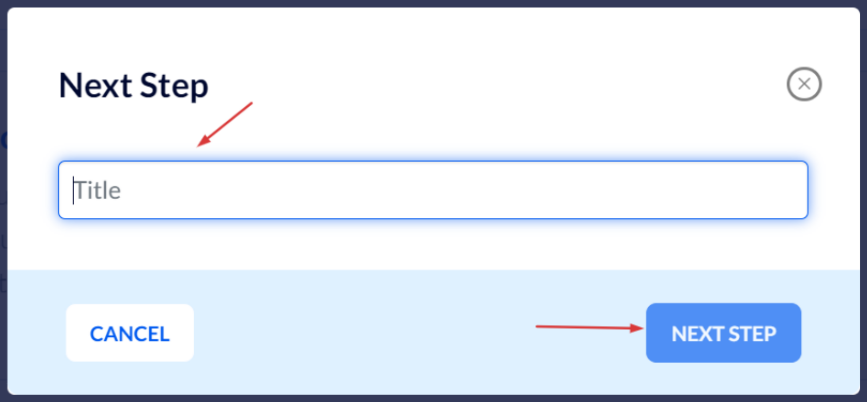
You can now set up the automation.
Click "Add Triggers".
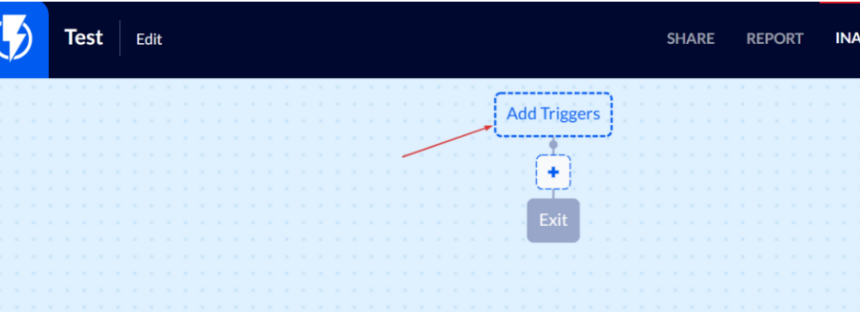
Select the "Date Based" trigger.

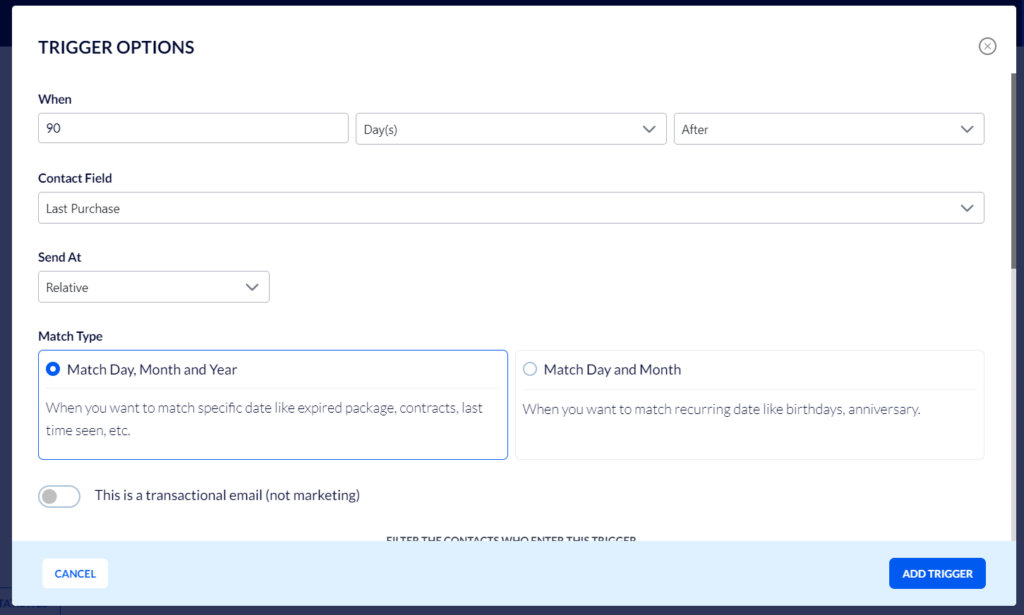
Fill in these details:
Select when you wish the automation to start (in our example we shall select 90 days after the customer's last purchase).
Select the "Match Day, Month and Year" box that fits unique dates (ones that do not recur each year).
- If you wish to filter the customers who will enter the automation, you can do so using the filters on this screen.
To finish,click "Add Trigger".
Now we add the action we wish to occur once a customer did not purchase for over 90 days.
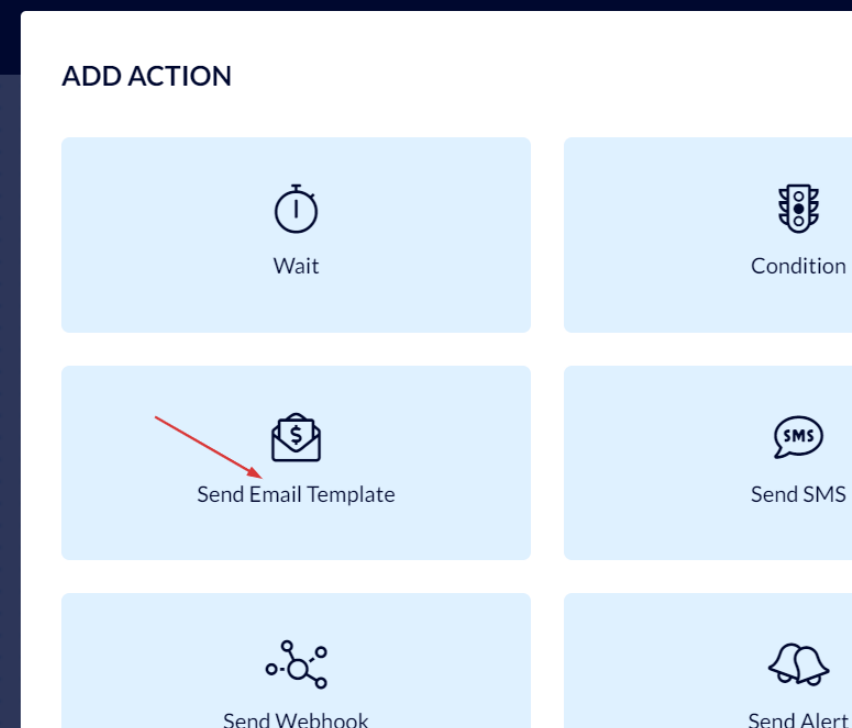
Click the blue "+" button (the add action button).

Select the desired action, "Send Email Template" for example.
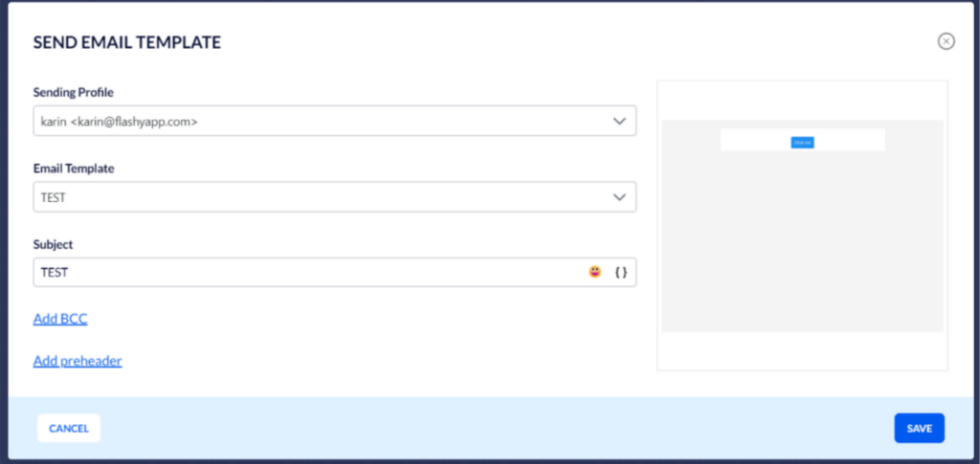
In the menu that opens fill in the action options:
Make sure that the sending profile is updated.
Select the template you have created for this automation.
Under email “Subject" fill in whatever you want the subject line, of the email that you send your customers, to read (for example: "We've been missing you . . .).
Finally, click "Save".
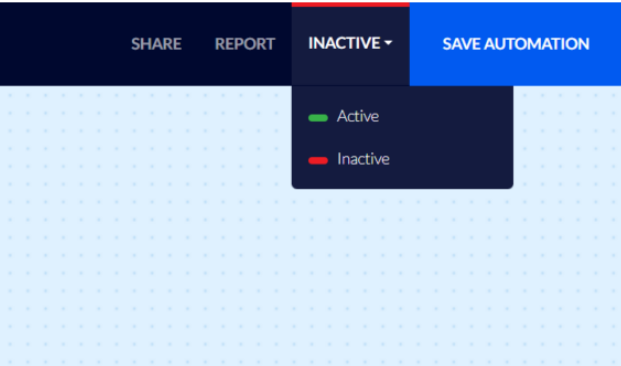
All that is left is to activate the automation by clicking the activation button at the top of the screen. Once activated the automation will begin allowing in customers, who will then go through the customer journey that you have set up.
In this guide, we have described an example of simple automation where your customers receive an email from you once they do not purchase for over 90 days.
It is possible to expand the automation into a customer journey with plenty more options, communications, and pathes that you wish the customer to go through.
You can also create automations based on yearly recurring dates (for example: birthday, wedding anniversary, date of subscription, etc.). Click here to read the article about creating an automation based on yearly recurring dates.
