
How to Create an Automation Based on a Yearly Recurring Date (birthday for instance)
Flashy allows you to build a date-based automation that will send messages that you define every year, for any of your customers' important dates: birthdays, wedding anniversaries, day of subscription, etc.
Customers love personalized, gift-bearing messages. Such messages generate better conversion rates than general marketing ones. Personalized messages strengthen the ties between your business and your customers and support long-term customer loyalty.
In birthday automation, for instance, we recommend setting up a personalized message to be sent by email or SMS sometime before the day itself, wishing the customer a happy birthday and awarding them a lucrative benefit, all by automation on yearly recurring dates.
In this article, we describe setting up a common date-based automation (birthday automation) that will send every customer a personalized message.
Setting Up a Date Based Automation for Birthdays
First, you must set up a template designed for birthdays, this article explains how to set up templates.
You may also want to read our article about setting up dynamic coupons (for adding a gift coupon to the birthday greeting).
Click "Automations" on Flashy's top toolbar, and then click "Create Automation".

Select the "Start From Scratch" template.
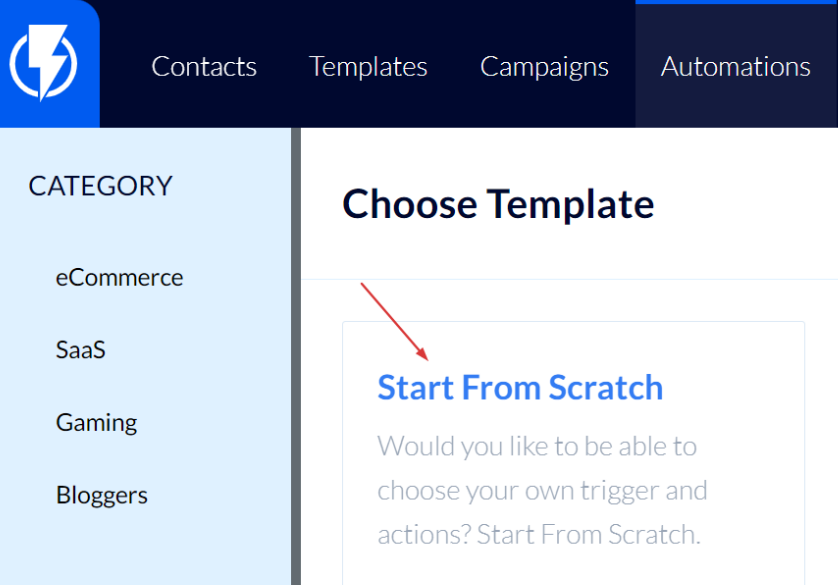
- Note: you may choose to use a ready-made "birthday" template available on this page (among the variety of ready-made templates), editing its settings and messages to suit your preferences. In this article, we chose to describe creating birthday automation from scratch.
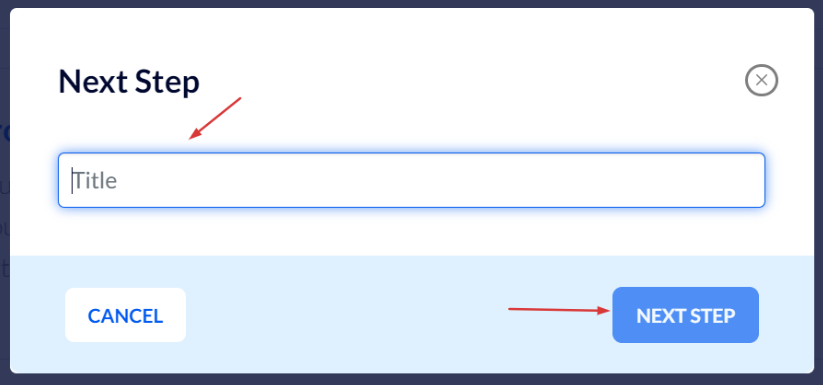
Fill in a title for the automation and click "Next Step".
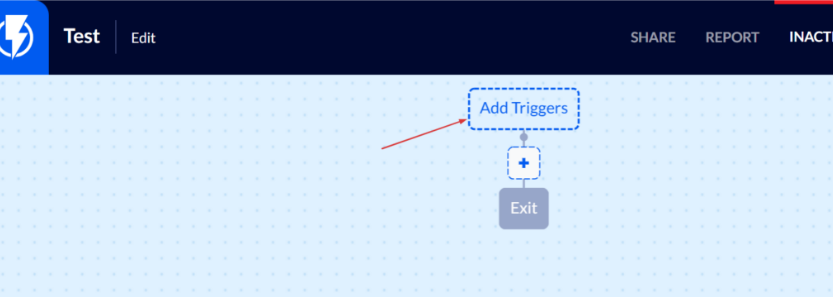
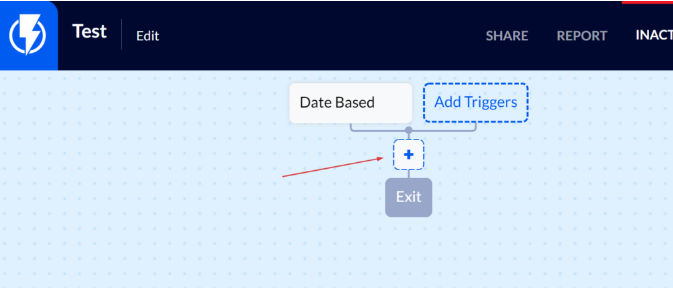
Click "Add Triggers".
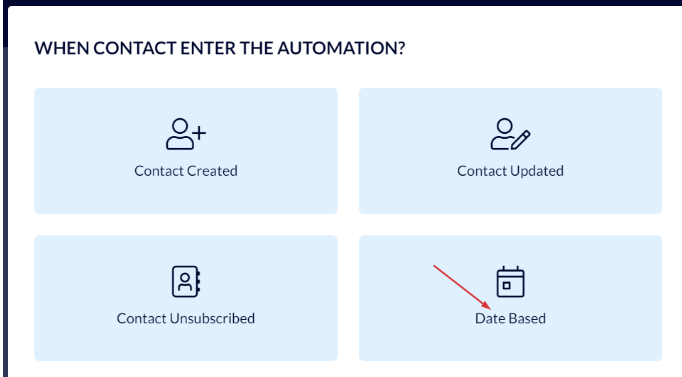
Select the "Date based" trigger.
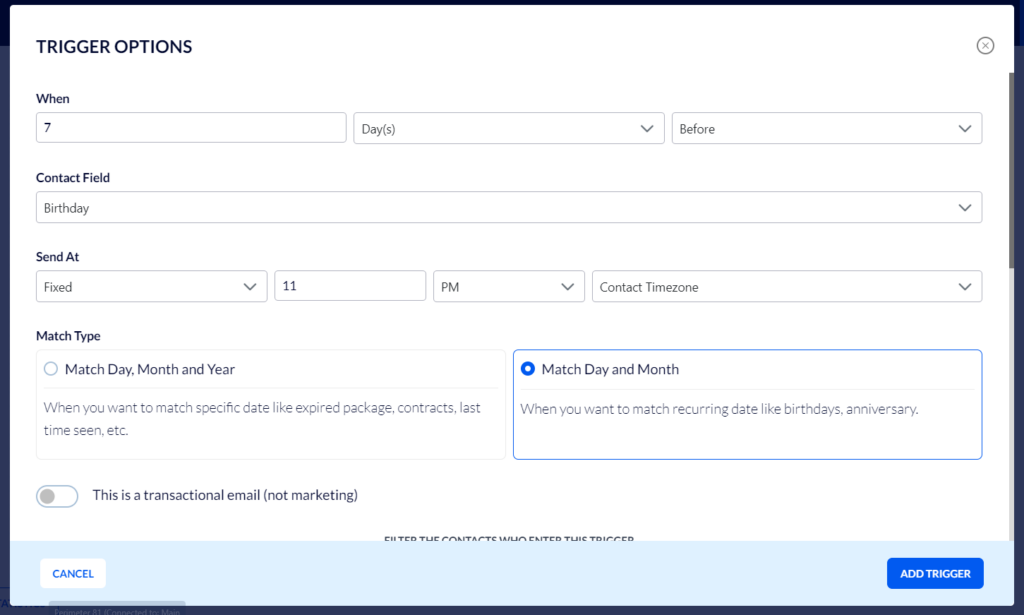
Fill in these details:
Select when you wish the automation to begin (for instance, 7 days before the birthday date).
Select the "Match Day and Month" box that fits recurring dates (ones that recur each year – as in the case of birthdays).
To finish, click "Add Trigger".
Click the blue "+" button (the add action button).
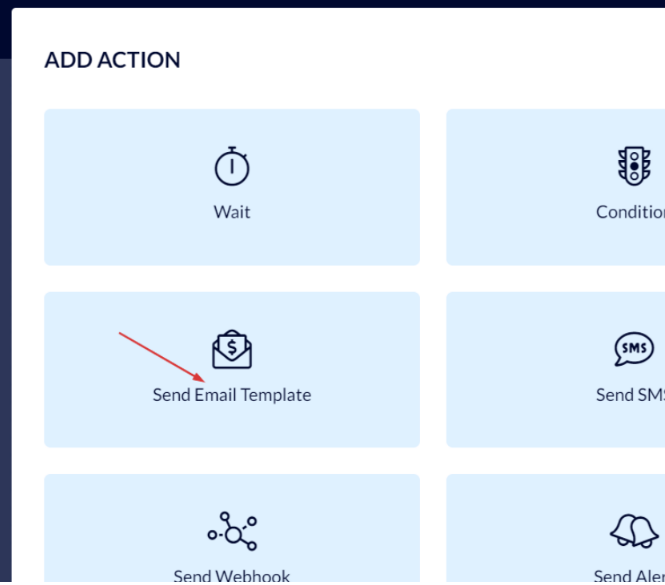
Select "Send Email Template".
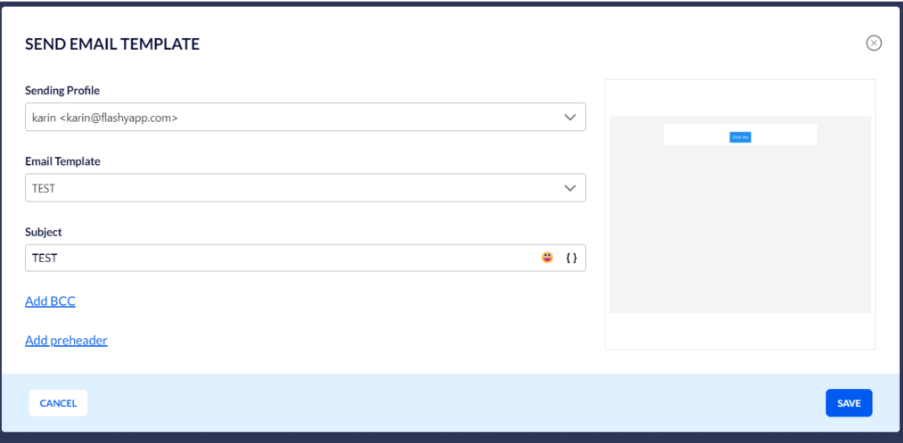
Select the template you have created for birthdays.
Under "Subject" fill in whatever you want the subject line, of the email that you send your customers, to read (for instance: "Your birthday is coming up . . .").
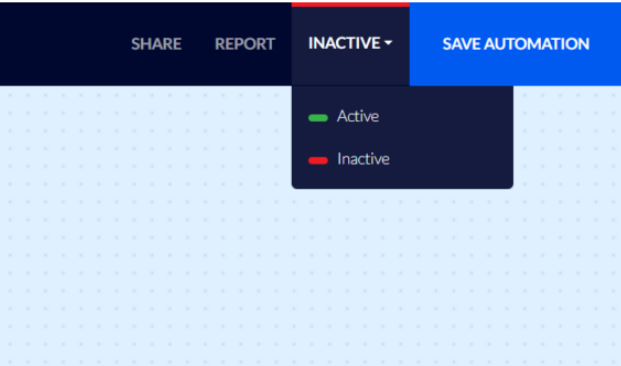
All that is left is to activate the automation by clicking the activation button at the top of the screen.
In this guide, we have described an example of a simple automation where your customers receive a birthday greeting email from you 7 days before their birthday each year.
It is possible to expand the automation into a customer journey with plenty more options, communications, and junctions that you wish the customer to go through.
