
Adding Users to an Account and Managing User Permissions
Once you've opened a Flashy account you may want to add users and allow them access to it.
Please note, there are differences between the price plans regarding the number of users you may add to your account. Click here to read more about the differences between price plans.
Adding a New User to Your Account
- Click on your user name at the upper right-hand corner of the Flashy user interface.

- Click "Users".
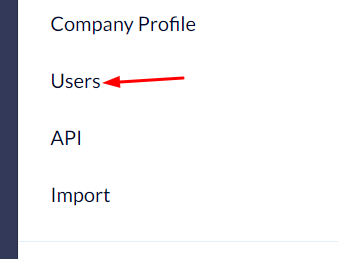
- Displayed on the next screen are all the users who have access to the account and their user permissions.
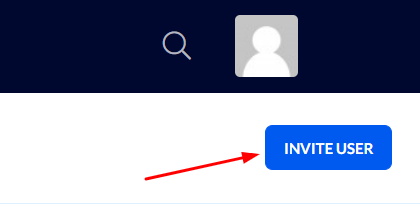
You may add a user and grant them access to the account by clicking the blue "Invite user" button at the upper right-hand corner.
- Fill in the new user's email address and select the desired permissions for each category:
- "None" – the user will not have any access (not even as a viewer). This category will simply not appear on their account.
- "Edit" – the user will be able to access this category and make changes to settings within it.
- Finally, click "Invite user".

If the user you are adding has signed up to Flashy in the past – they will immediately appear on your user list.
If the user has never signed up to Flashy – they will receive an email inviting them to become Flashy users, and they will appear in the "pending invitations" list.
Only once the user fills in all their personal information and completes the sign-up to Flashy process will they appear on the main user list.
Managing User Permissions
To remove a user from your account – click the red trash bin button located to the right of the user.
To edit permissions granted to a user – click the edit button located to the right of the user.

