
Popups #3: After Submission
This article is part of our series on Popups.
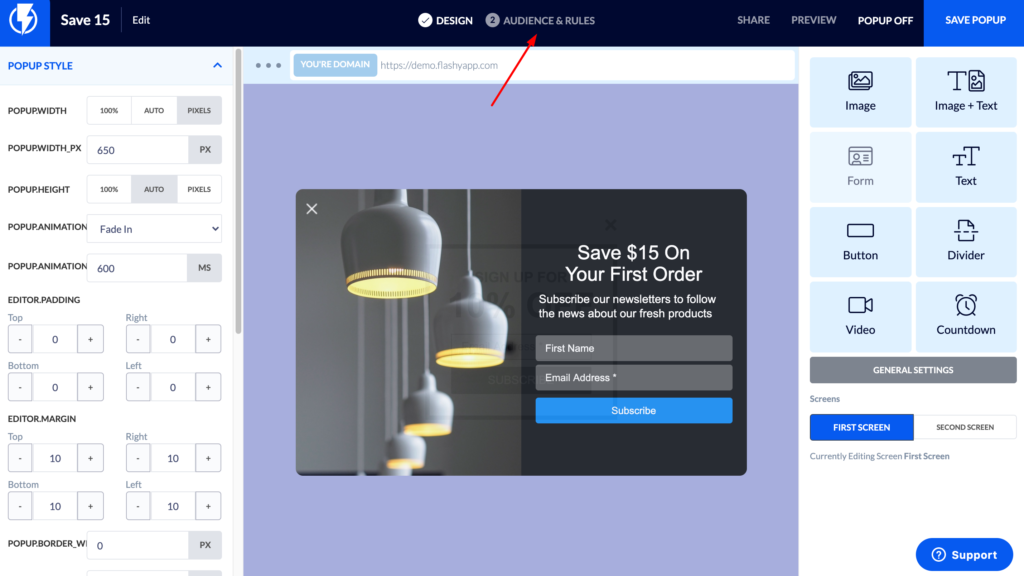
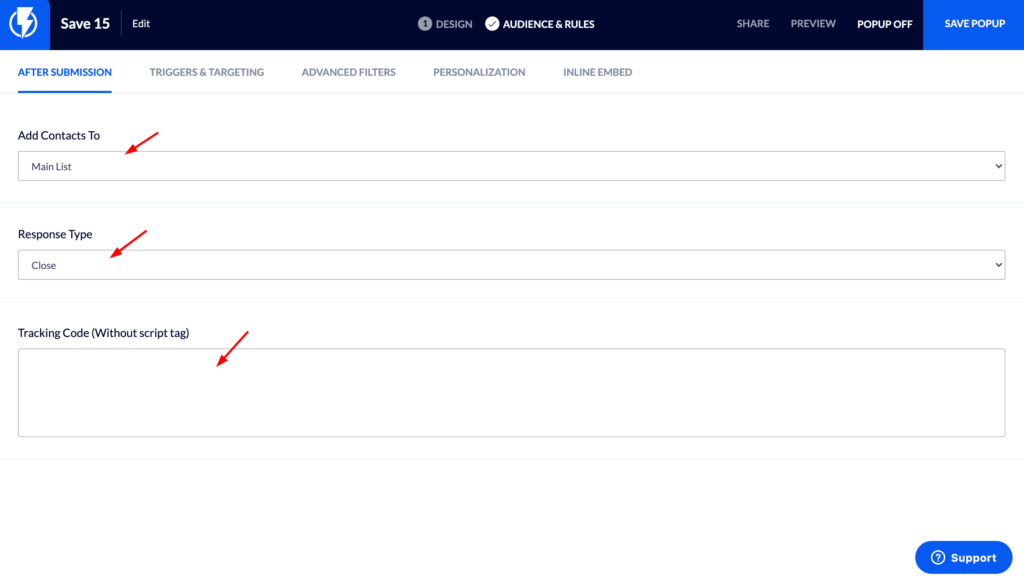
Within the Popup Builder, go to the “Audience and Rules” section found at the top of your screen. The first tab in this section is called “After Submission.” This is the place where you’ll enter information about a contact once you’ve received their email address and make choices about their popup settings.
The options below are only available for use with popups that include forms for gathering information, such as email addresses. They are not meant for popups where the goal is a “click conversion,” such as in cross-selling or upselling.
- “Add Contact To” - In this dropdown menu, select the specific lists you’d like to add your new contact to. This will enable you to send him emails and include him in automations.
- “Response Type” - This choice will determine what your contact sees in the way of popups. There are four different options:
- “Close” - After the contact enters their email address on the popup form, the popup will be closed and they will not see any other screens.
- “Show Web Page After Submission” - If you want to redirect the contact to a different URL after they perform an action on a popup, you can enter it here. For example, you might choose to send them to a thank you page or a page containing more information about your business.
- “Show Second Popup Screen” - Each pop-up contains two screens. The first screen is usually where the visitor enters their email address to subscribe to your site. Once they do so, they reach the second screen - part two of the popup. Here, you might choose to say something like “Thanks for submitting your email! Be sure to check your inbox - we just sent you a coupon code for 10% off.” When you select “Show Second Popup Screen,” you ensure that your visitor will see this screen.
- “Show Another Popup” - If you want to show your visitors another popup after they enter their email address, select this option. Here you can choose from a list of the popups you’ve already created.
- “Tracking Code” - This option is for use with other platforms, like Google Analytics. All you need to do is paste the tracking code from the other platform here, and they will receive all the information. (no need to add <script> tags)
The next article in this series is “Popups #4: Audiences.” Read on for more popup knowledge you can turn into marketing action!
