
Popup / Weblayer Editor – Overview
Flashy's popup tool enables you to easily create and design personalized popups for your website using a Drag & Drop Editor.
General Settings in the Popup Editor / Weblayer Editor
You may set all of the popup's general design settings, such as the location of the popup on the website's page, background, closing options, etc.
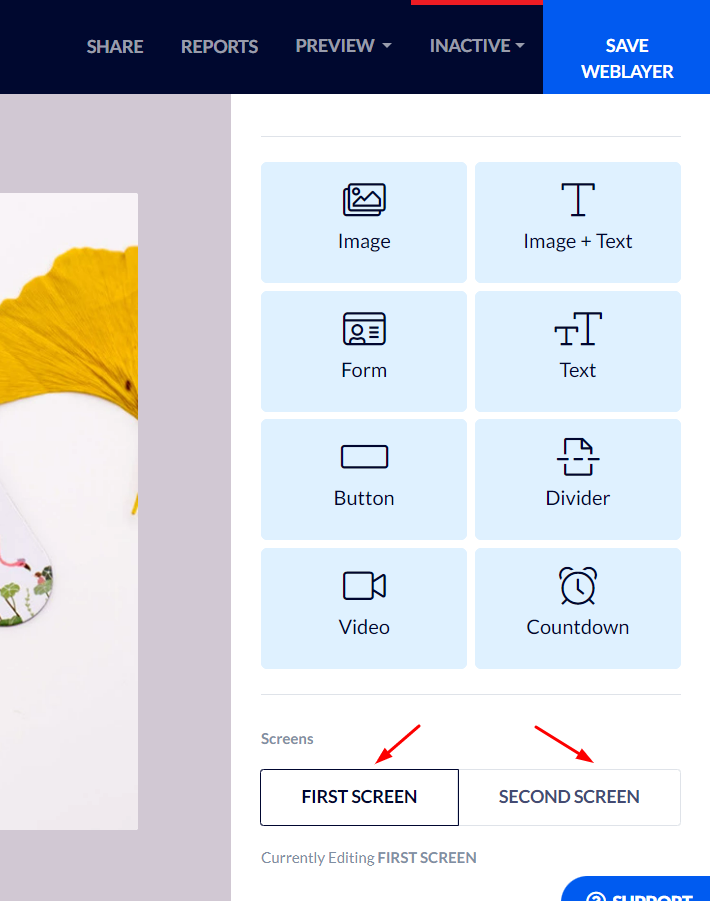
You can set and design two screens for each popup (Weblayer):
First screen – the first popup screen that displayed to the customer.
Second screen – the screen is displayed to the customer after they have acted on the popup's first screen.
For instance, a customer filled in their details in a popup inviting them to sign up for your email list (on the popup's first screen).
Once they complete filling in their details and click send, the popup's second screen will appear with a "Thank you for signing up!" message.
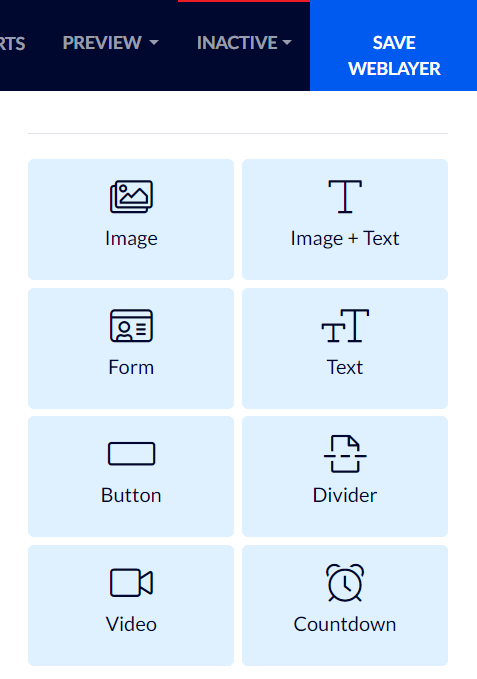
The Elements in the Popup Editor / Weblayer Editor
You may use the variety of elements found on the right-hand menu – text, image, button, timer, etc.
Using Flashy's Drag & Drop Editor you can position and design the elements you wish to use, personalizing them to fit your brand's style and requirements.
Target Audience and Popup Settings / Weblayer Settings
Once you finish designing a new popup, you will have to decide whom you want it displayed to, when, in what fashion, etc. To do this first click "AUDIENCES & RULES" at the top of the screen.

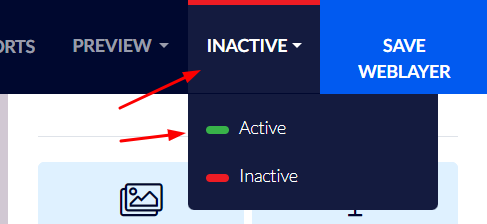
Finally, you can have a preview displayed and then activate the popup by clicking the activation button at the top right-hand side of the screen.
With Flashy's popup editor, you have diverse options for creating and designing popups for the target audiences of your choice!
