
WooCommerce – Integration Overview & Install Guide
If you utilize WooCommerce for your business, we’ve got great news for you: You can install Flashy with just one click! The “One-Click Install” will automatically transfer all of your historical data to Flashy - your customers, orders, and products - and they will be continuously synced. This install will also automatically add Flashy’s pixel events to the correct places on your website. You don’t have to perform any manual imports or go through complicated processes - we take care of everything for you!
How to install Flashy on your WooCommerce site
Follow this easy process to install Flashy on your WooCommerce site:
Click on your Username in the top-right corner of your screen.
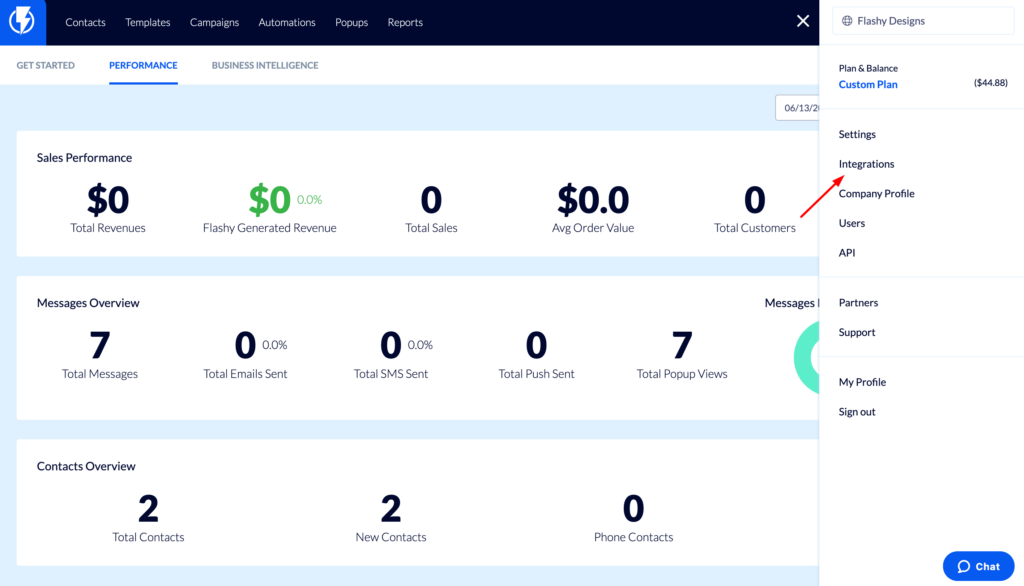
Select “Integrations” from the menu.
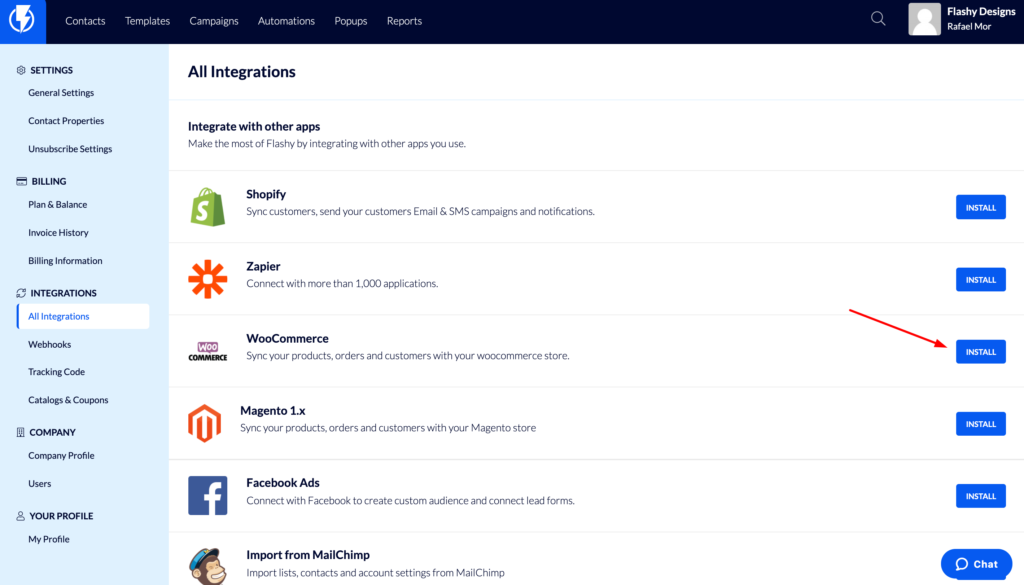
Find WooCommerce in the list and click on the blue “Install” button.
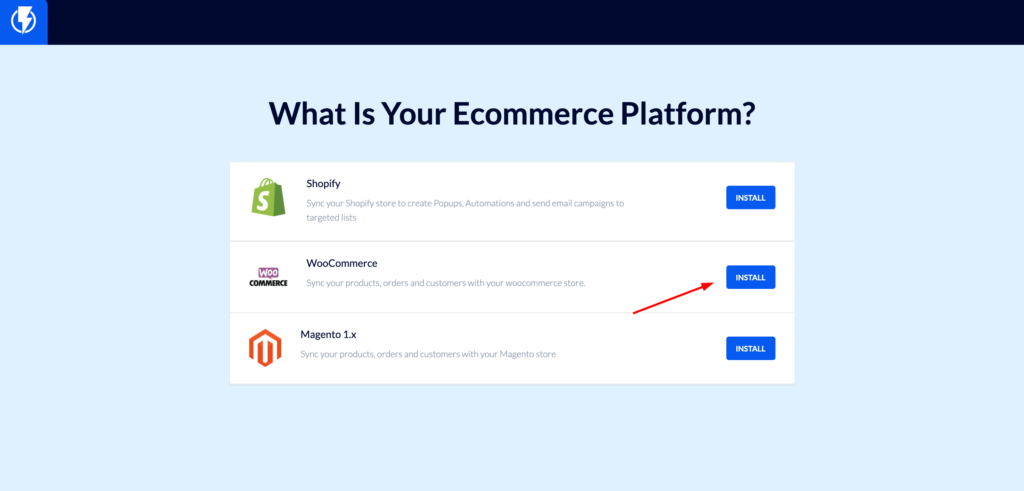
On the next screen entitled “What is your Ecommerce platform?” choose WooCommerce again.
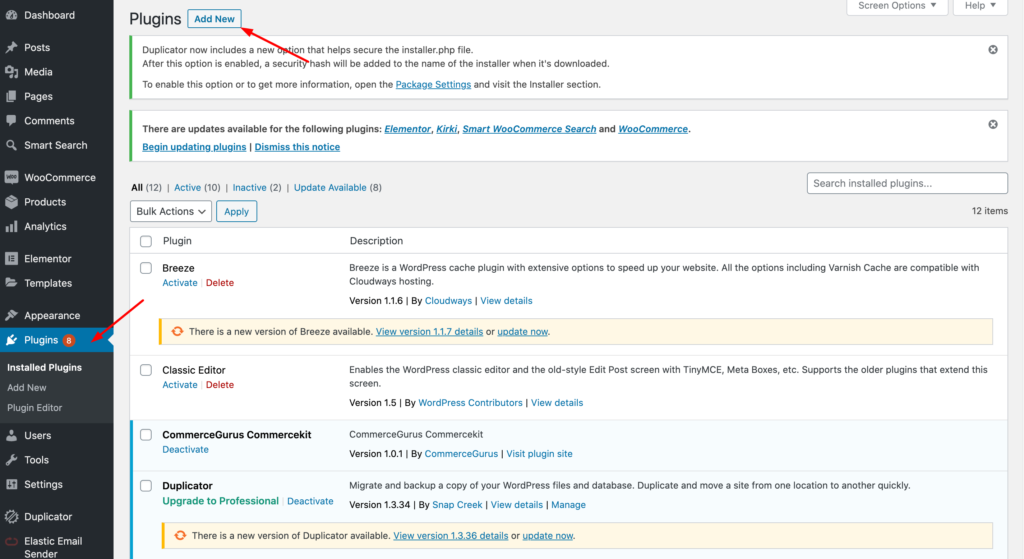
On your WordPress Admin dashboard, go to Plugins - Add New.
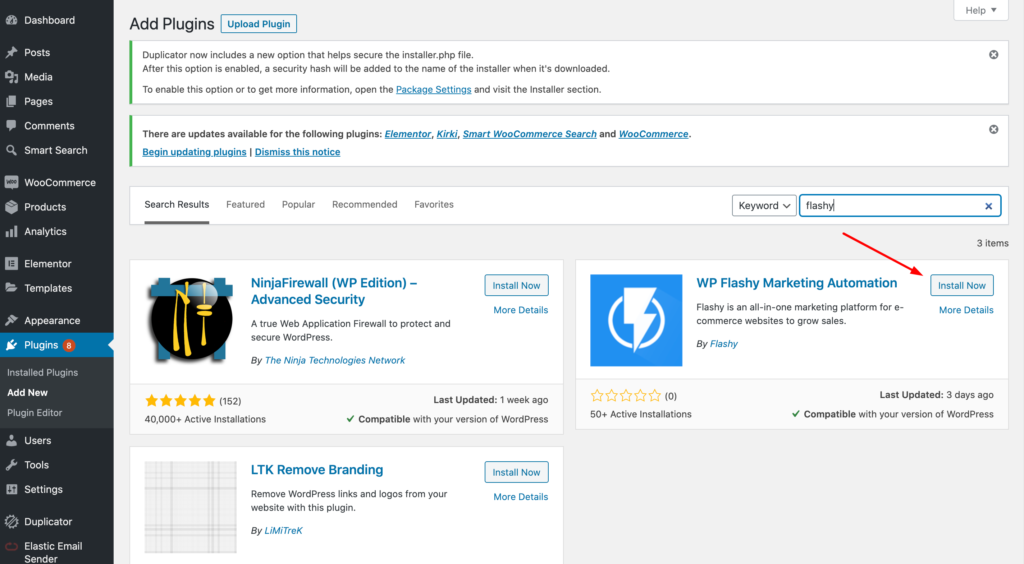
Find Flashy, click the “Install Now” button and the “Activate” button.
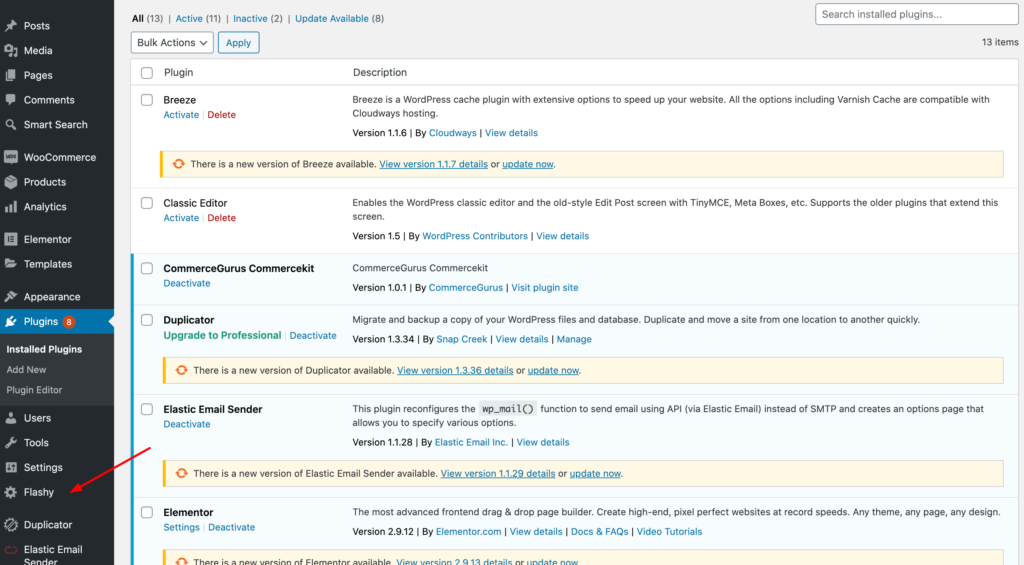
Navigate to Flashy in your left-hand WordPress menu.
Enter the API Key (provided by Flashy - copy and paste it without the quotes) and click “Connect.”
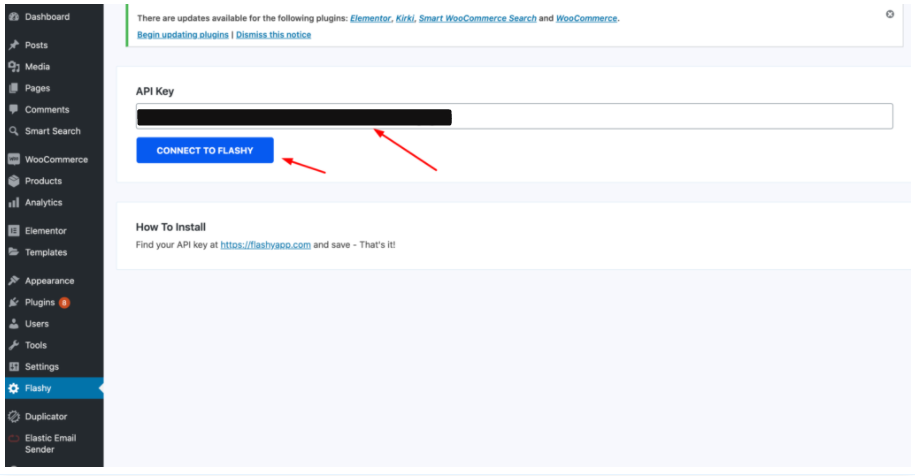
You will see a screen that says Flashy is connected. You are ready to go!
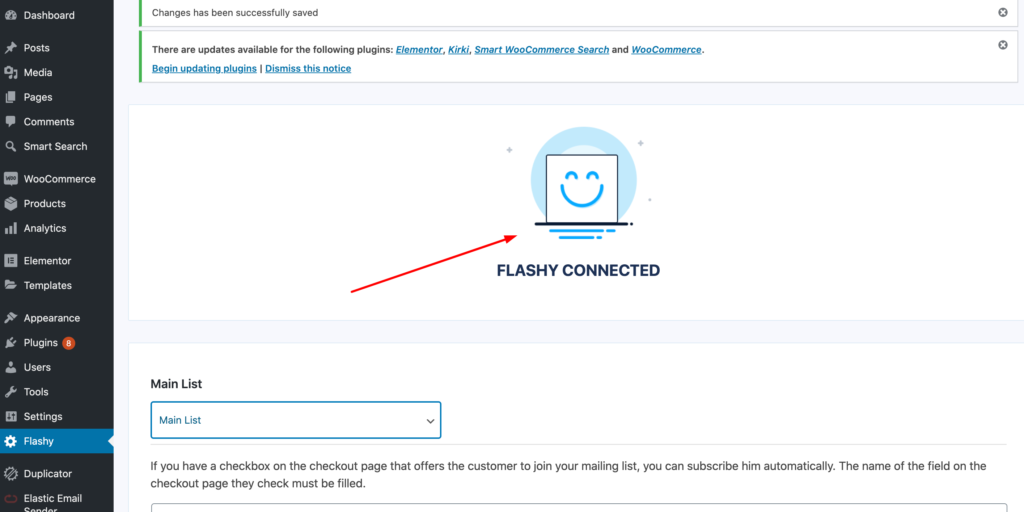
WooCommerce Settings
On this screen, you have a few choices to make:
- Main Lists - If you give customers the option to create an account when they make a purchase from you, you need to decide if you want a customer profile for them in Flashy. We highly recommend this, as it will enable you to subscribe them to specific lists to receive your marketing material (if they’ve opted in to receive it). Under the “Main Lists” header, you will see a dropdown menu containing all of your Flashy lists. Here you can select the list you want to subscribe customers to.
- Create Account for Guests - If you allow people to make purchases as guests without creating an account on your site, you also need to decide whether these guests will have a customer profile in Flashy. Again, if you include a checkbox where people can opt in to receiving marketing material from you, it’s a good move to make sure their information goes into Flashy so they can be subscribed to a list. Under “Create Account for Guests,” select “Yes” or “No.”
Flashy is always improving and adding new features. When it comes to updating, we make that easy for you too. When there are plug-in updates, you will be able to add them to your site in one simple click.
This completes your quick and easy Flashy installation on your WooCommerce store!
