
Manually Add Shopify Tracking Pixels
After installing our Shopify app we install the required pixels automatically, sometimes there can be a technical problem that will not add the pixels or when you change a template on the Shopify website you will have to embed the pixels manually, the action is very simple and it is a copy & paste.
To get started, log in to the management system of your Shopify store.
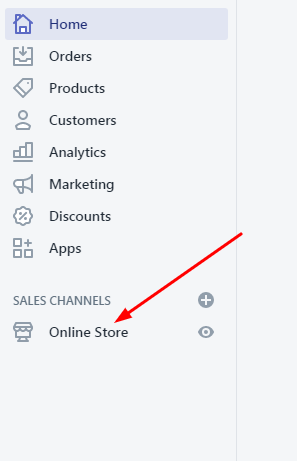
In the side menu, select "Online Store".
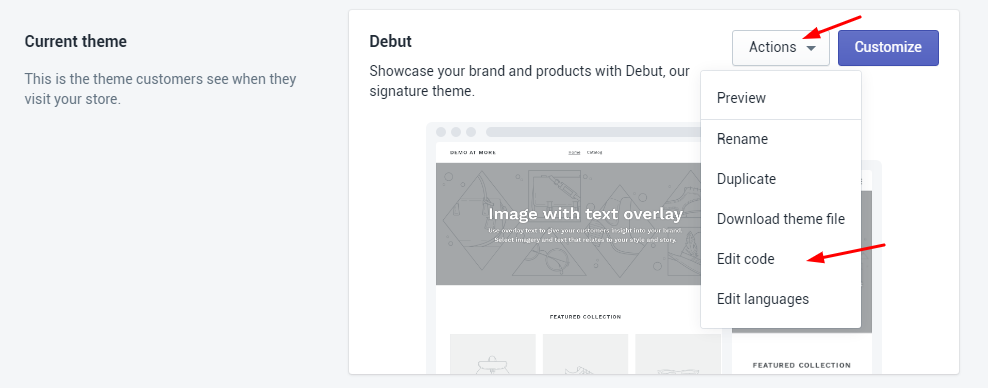
Then select your current template, click "Actions> Edit Code".
On the left side select "theme.liquid".
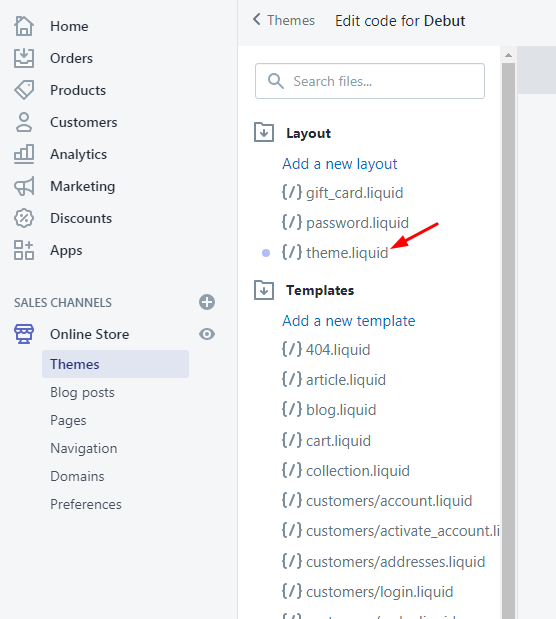
Scroll until you see the following tag "</head>" and add the following code above it:
<script id="flashy-pixels">
	window.addEventListener('onFlashy', function(e) {
		var flashy_cart = {};
		flashy_cart.value = 0;
		flashy_cart.currency = '{{ shop.currency }}';

		flashy_cart.content_ids = [];

		{% for line_item in cart.items %}
		flashy_cart.value += {{ line_item.line_price }} / 100;
		flashy_cart.content_ids.push({{ line_item.variant_id }});
		{% endfor %}

		if( localStorage.getItem('flashy_cart') !== JSON.stringify(flashy_cart) )
		{
			flashy('UpdateCart', flashy_cart);
			localStorage.setItem('flashy_cart', JSON.stringify(flashy_cart));
		}

		{% if template contains 'product' %}
			flashy('ViewContent', {
				'content_ids': ['{{ product.first_available_variant.id }}']
			});
		{% else %}
			flashy('PageView');
		{% endif %}
	});
</script>
That's it! All the events are tracked.
