
Magento (+2 version) – Integration Overview & Install Guide
When Flashy is connected to your Magento store, you will have the ability to create unlimited automations from events that have happened in real time on your site.
You can convert site visitors to subscribers by smart pop ups that pop up at the right place and the right time, respond to abandoned customers by sending messages via emails / SMS messages, show customers unique ads on social networks based on their purchase history, send campaigns based on advanced segments and many more.
How to install Flashy on your Magento site
Follow the next steps in this article below to install Flashy to your Magento store:
The following are guidelines for implementing Magento version 2+, it is important to start to perform the installation process in a DEVELOPMENT environment and after everything is in order you can upload it to the PRODUCTION environment.
1. Run the COMPOSER command that will download our files:
composer require flashy/magento2-integration
2. Run the following MAGENTO commands:
php bin/magento module:enable --clear-static-content Flashy_Integration
php bin/magento setup:upgrade
php bin/magento cache:flush
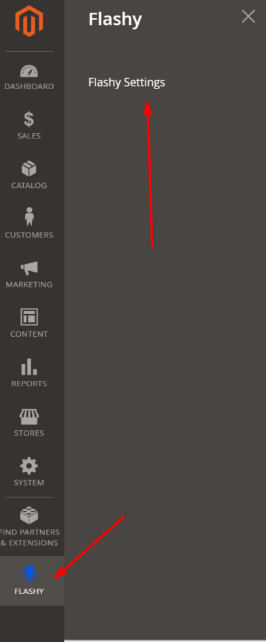
3. Disconnect from the admin panel and login again and enter Flashy Settings
4. Enter the Api key and hit save.
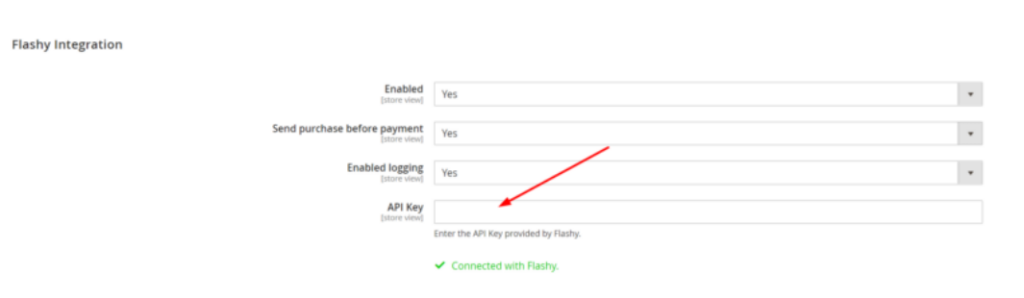
5. After the Api key entered and saved, click on the contact list and select the preferred option and hit save again.

As part of completing the integration, please read the following guide which explains in detail about the plugin settings.
That's all, you've finished the integration, now you can move on to the part of building customer journey popups and increase sales on the site!
