
Facebook Ads Integration
One of the many exciting options available within Flashy automations is the ability to add a customer to a custom audience on Facebook. This action allows you to either position your customer to view certain ads at specific times or to build a “lookalike” audience on Facebook. Let’s look at each one of these options in turn.
Use Case #1: Show an Ad to Your Customer
Say you want to show an ad to a customer who hasn’t purchased from you in 30 days. You add them to a custom audience and enter them into an automation specifying that 30 days after the customer makes their last purchase, they should be shown a specific ad on Facebook. In this ad, you might choose to say something like, “Hi! We noticed you haven’t shopped with us for a while - we miss you!” It reminds them your business is still around and ready to serve them.
Going one step further: After 60 days of not making a purchase, you choose to remove the customer from the 30 day custom audience and automation and put them into new ones for 60 days out from the last purchase. This now enables you to show them a different ad that is relevant to this stage in their journey. Since it’s less likely at this point that your customer will make a purchase, you might want to include a coupon code for 10% in this ad.
In these examples, adding customers to a custom audience allows you to build ad journeys based on the customer profile, purchasing behavior, or any other trait that serves your purposes.
Use Case #2: Build a Facebook Lookalike Audience
In this use case, let’s say you want to add customers who have made more than four purchases into a custom audience. To further expand your high-purchasing customer base, you can then ask Facebook to build you a “lookalike audience.” They will compile a group of people who resemble those in your custom audience in terms of demographics, purchasing behaviors, and so on. Once you have your lookalike audience, you can show them specific ads to interest them in your business.
Now, let’s walk through the steps you need to take in order to utilize Facebook custom audiences.
Facebook Ads Integration
The first step is to add the Facebook Ads integration in Flashy:
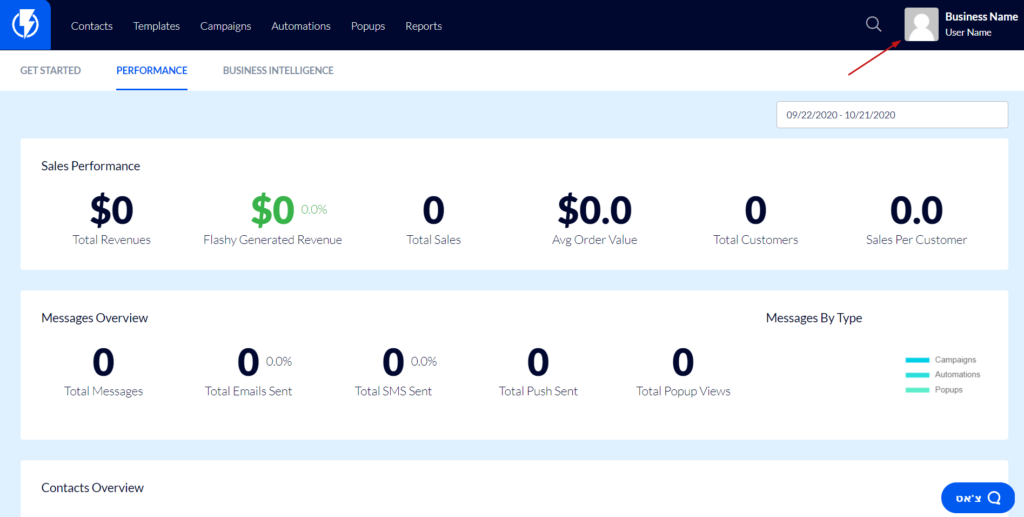
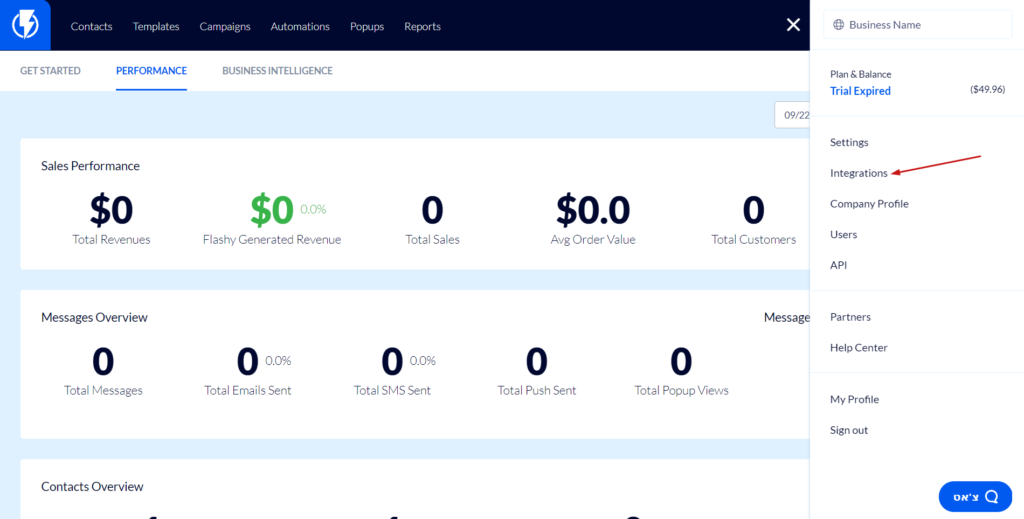
- Click on your user name in the top right corner of your screen, and select Integrations from the menu.
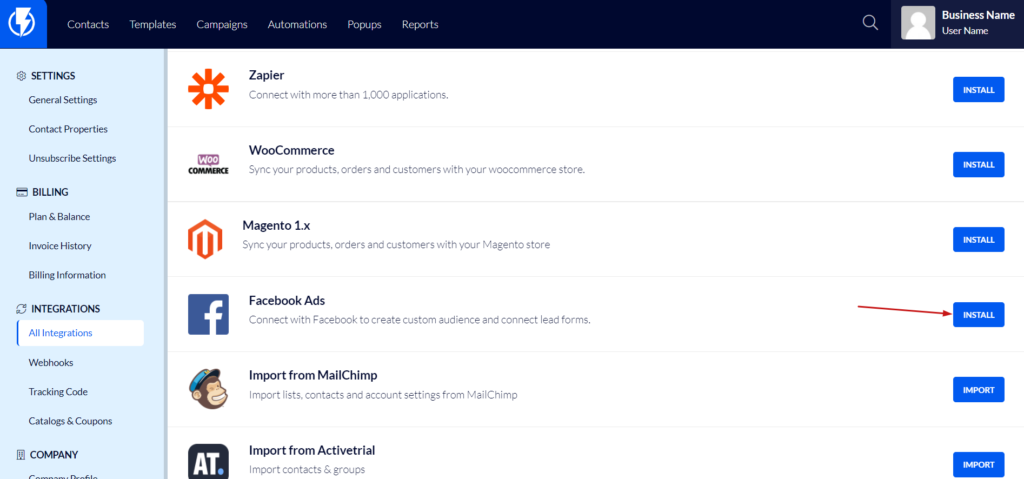
- Find Facebook Ads in the integrations list and click the blue “Install” button.
- This will redirect you to Facebook where you will be asked if you want to give Flashy access to your account. After granting access, go back to the Integrations page and you will see your Facebook account listed there at the top.
Adding a Customer to a Custom Audience
- Go to Automations in your Flashy dashboard at the top of the screen, and open the automation you want to use.
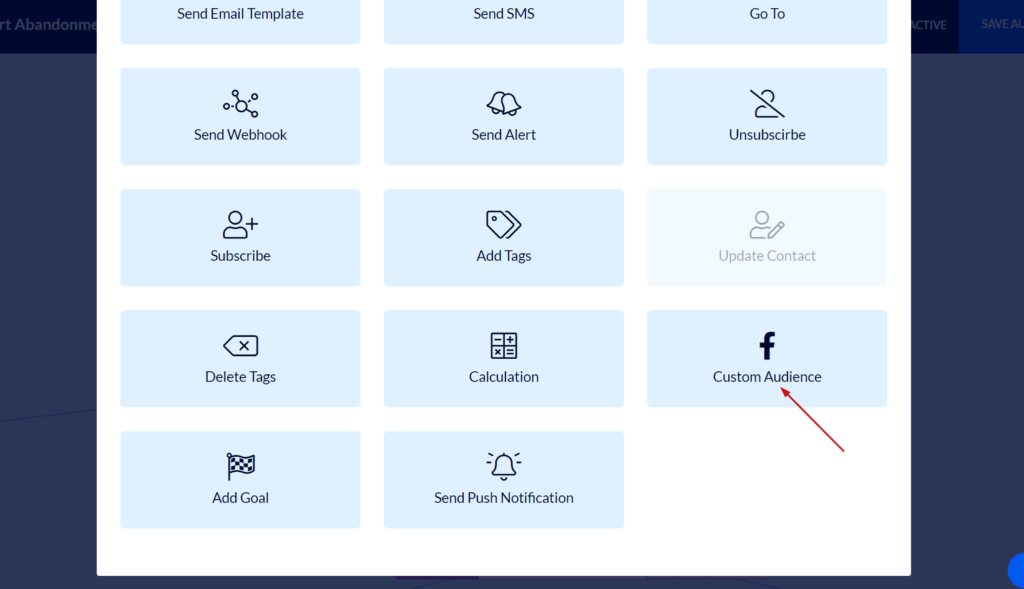
- Click the plus sign in the automation to view the Actions menu and click on “Custom Audience.”
- Click on the “Choose Profile” drop down menu and you’ll see the Facebook profile you just added (Note: You may add an unlimited number of Facebook profiles). Select the one you want to use.
- After choosing the profile, you’ll see a drop down menu of the Facebook ads accounts your profile has access to, and you can choose the ones you want.
- A drop down menu for “Choose Your Audience” appears - this is a list of your custom audiences. Choose one and add.
Your customer has now been added into the custom audience you selected within their automation journey. You are free to add or remove customers from a custom audience at any time.
When it comes to ads, Flashy and Facebook make a dynamite team. Use custom audiences to send your customers the ads that motivate them to action, and let lookalike audiences grow your business in brand new ways!
