
Shopify – Integration Overview & Install Guide
If you utilize Shopify for your business, we’ve got great news for you: You can install Flashy with just one click! The “One-Click Install” will automatically transfer all of your historical data to Flashy - your customers, orders, and products - and they will be continuously synced. This install will also automatically add Flashy’s pixel events to the correct places on your website. You don’t have to perform any manual imports or go through complicated processes - we take care of everything for you!
How to install Flashy on your Shopify site
Follow this easy process to install Flashy on your Shopify site:
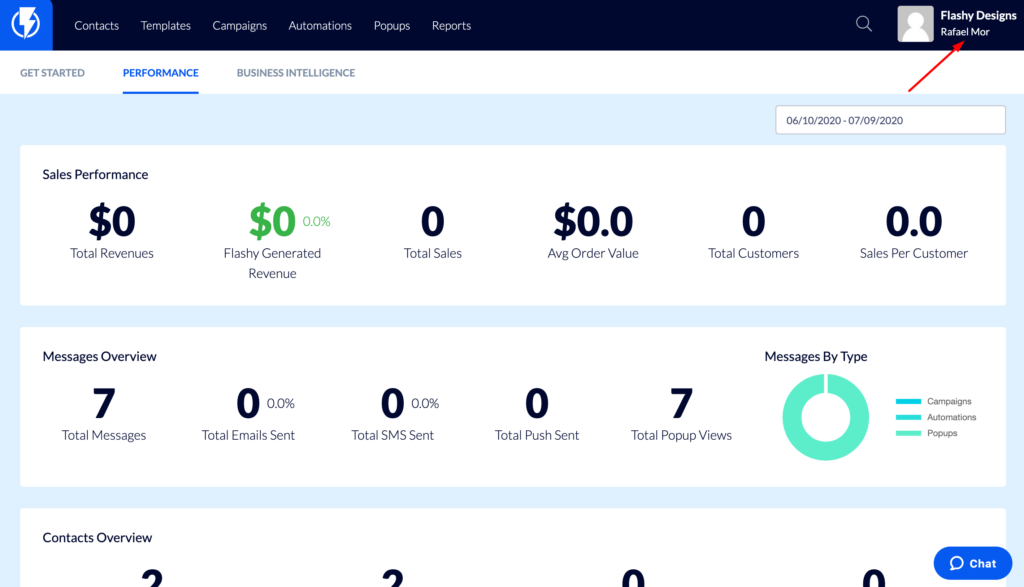
Click on your Username in the top-right corner of your screen.
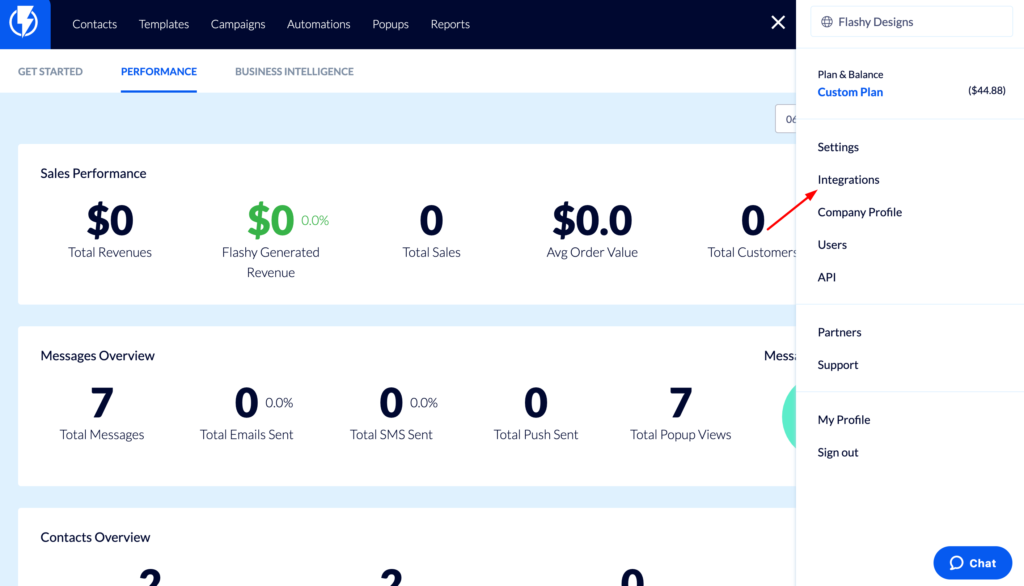
Select “Integrations” from the menu.
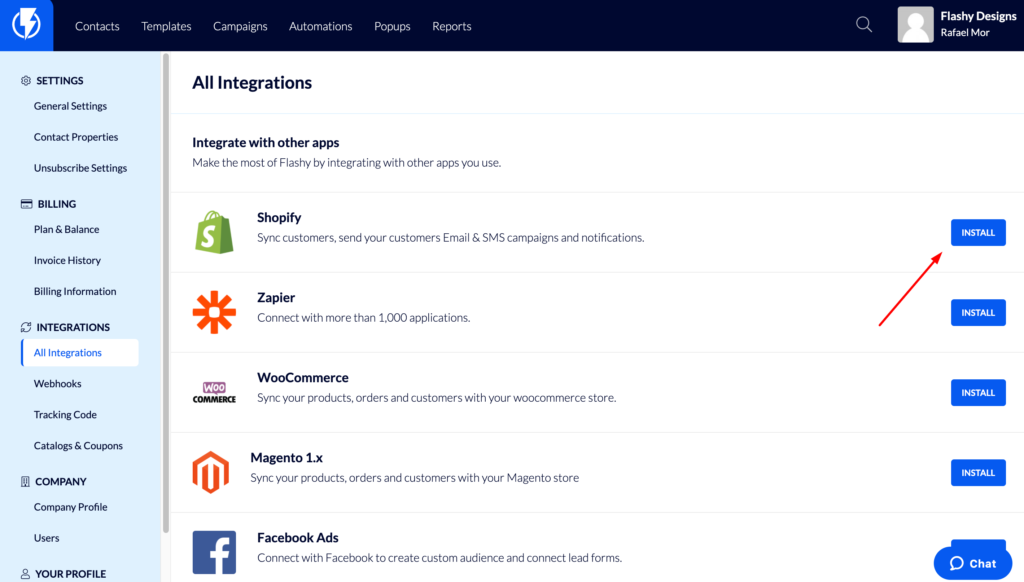
Find Shopify in the list and click on the blue “Install” button.
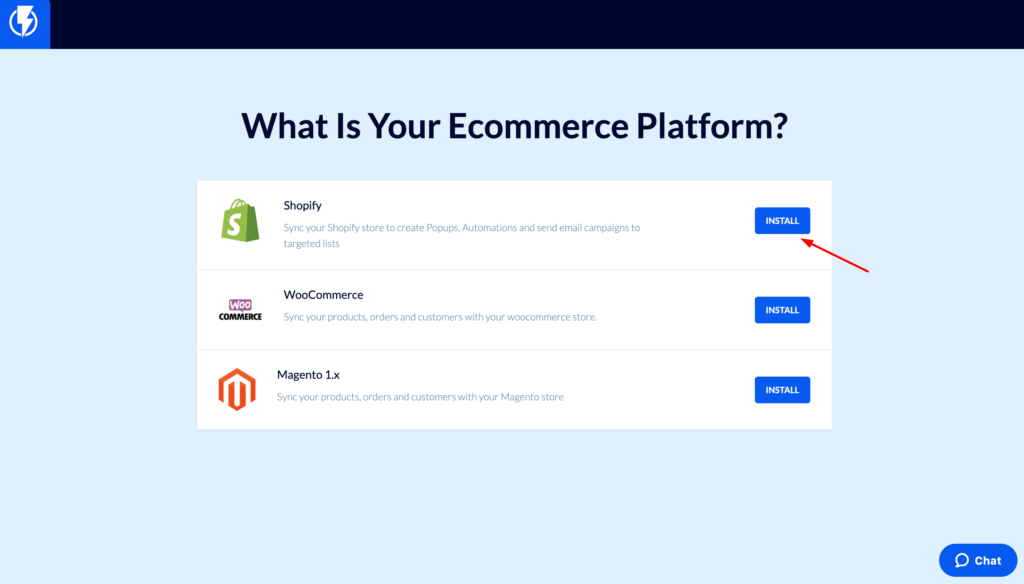
On the next screen entitled “What is your Ecommerce platform?” choose Shopify again and click the “Install” button.
Enter your store name. This is the name you created when you opened your Shopify account (not the domain name). It can be found within your url:
HTTPS://(your store name).myshopify.com.
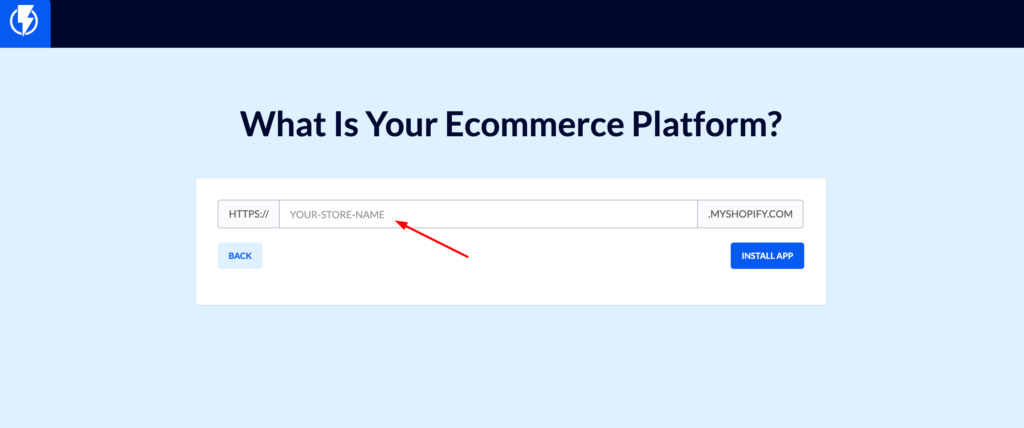
- Click the blue “Install App” button.
- You will be transferred to Shopify, where you will need to approve the transfer of information to Flashy. When you are ready, click the blue “Install” button.
Shopify Settings
You now have the option to go back to Integrations to adjust some settings:
- Store Name - Change your store name in Flashy, if desired.
- Email Subscriber List - If you’d like to subscribe customers who make a purchase on Shopify (and who have chosen to receive communications from you) to a specific list in Flashy, select the desired list from the dropdown menu. This will signal to Flashy that these customers should automatically receive marketing material.
This completes your quick and easy Flashy installation on your Shopify store!
