
SPF and DKIM Setup
Before sending your contacts email campaigns or automations, you must first Verify your domain. You will not be able to send emails through Flashy without completing this step. The process is quick and easy
How to set up a SPF and DKIM
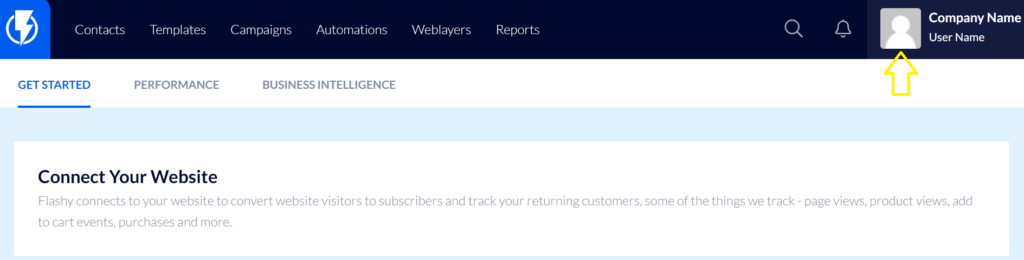
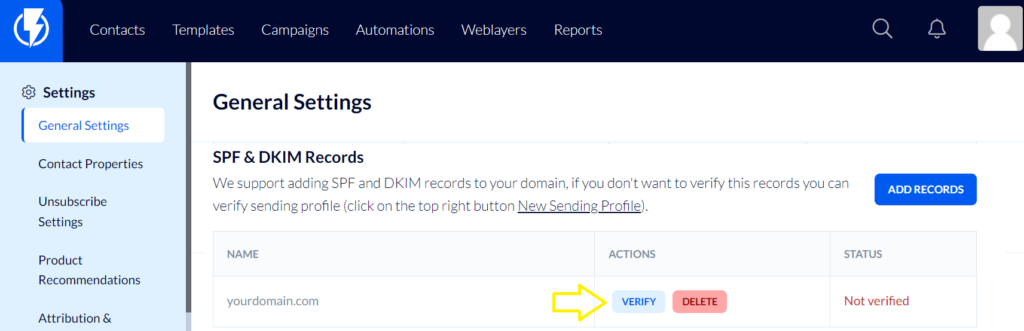
Click on your user name in the upper right-hand corner of your Flashy account.
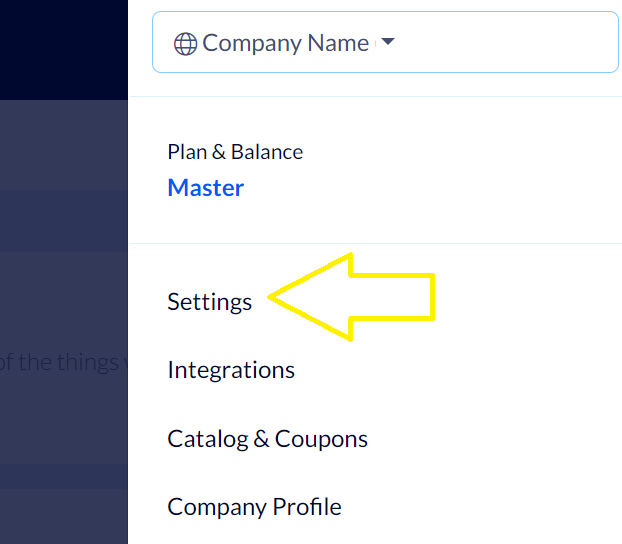
Select “Settings” from the menu.
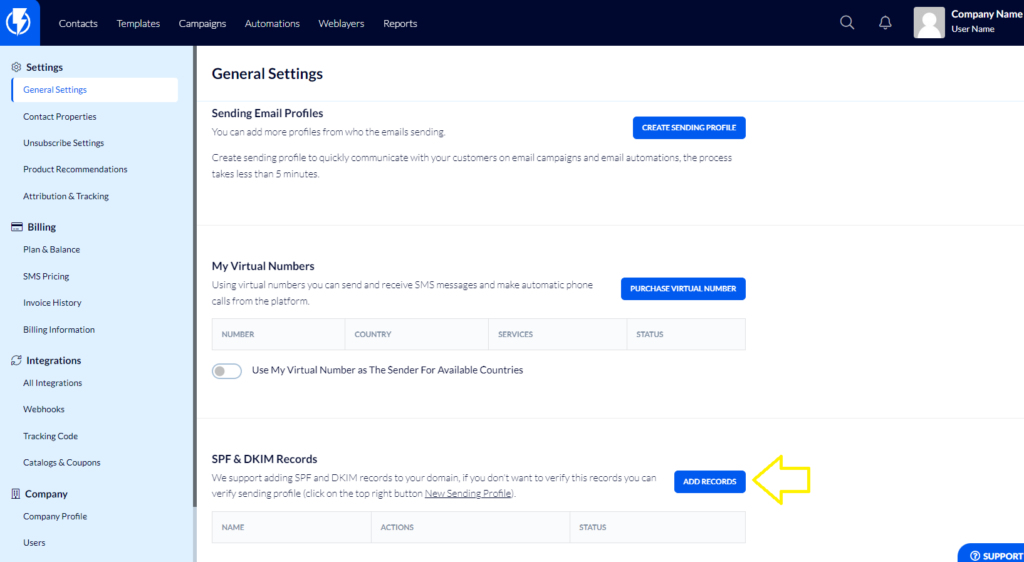
Click the blue “Add Records” button.
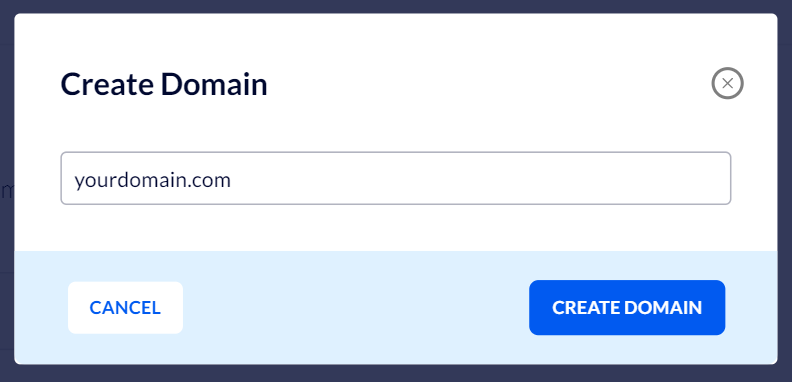
In the window that opens up, fill in the Website URL, and then click "Create Domain".
Important!
Make sure that you enter the domain only, without any "www" or "http/s"
Example:
mydomain.com - Correctwww.mydomain.com - Incorrect!
Once you add your domain, the platform will automatically fill your domain and create a subdomain for you.
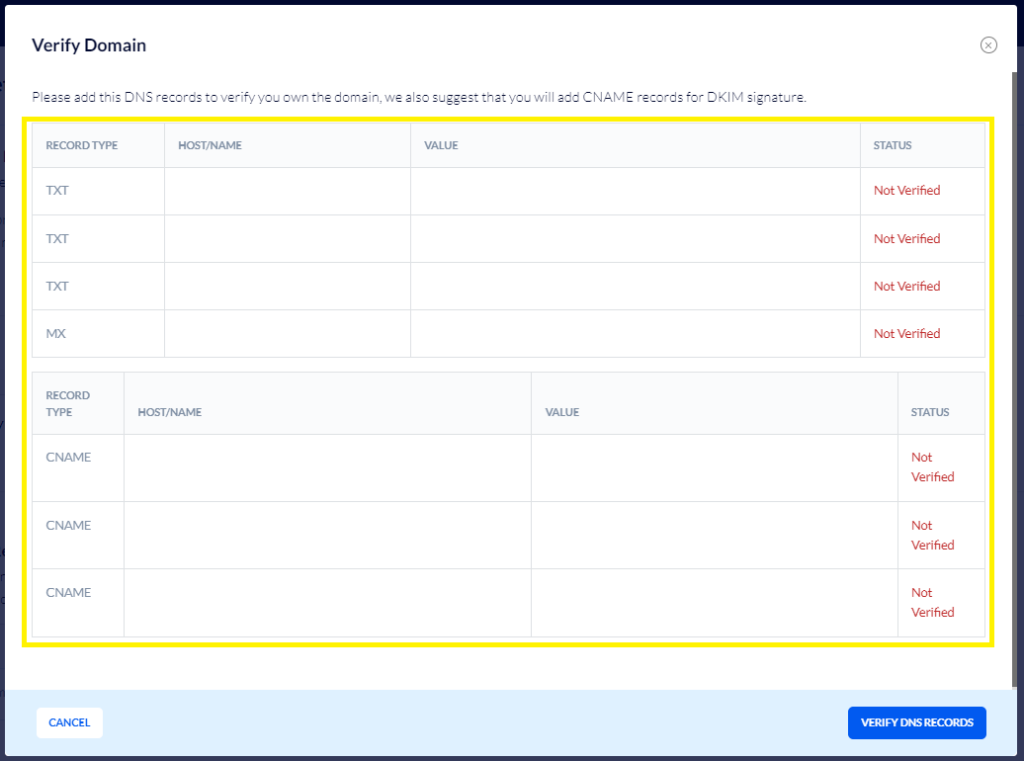
Now, you must copy all the records that will appear on this screen, and add them to the appropriate place in your DNS zone (depending on the type of recording, the name and the value that will appear on each line on this screen).
- Please note, do not skip any record that appears on this screen, this is important for the process to go through successfully.
- In addition, in the TTL box you will have to enter 3600 if this field is available to you, the value is the same for all records: 3600
DMARC record verification
The last record you will need to add is DMARC.
Record type: TXT
Record name: _dmarc.domain.com (Note that you paste this including the bottom line)
- For example, if your domain is something.com the record name will be _dmarc.something.com
The value: v=DMARC1; p=none;
- How to check whether you have successfully added all the required records to your DNS? The test can be performed with this tool: https://mxtoolbox.com/SuperTool.aspx
After you add all the records to the DNS, you will have to wait about two hours until they are all updated (if you did not have a TTL box - the waiting process will be up to 24 hours).
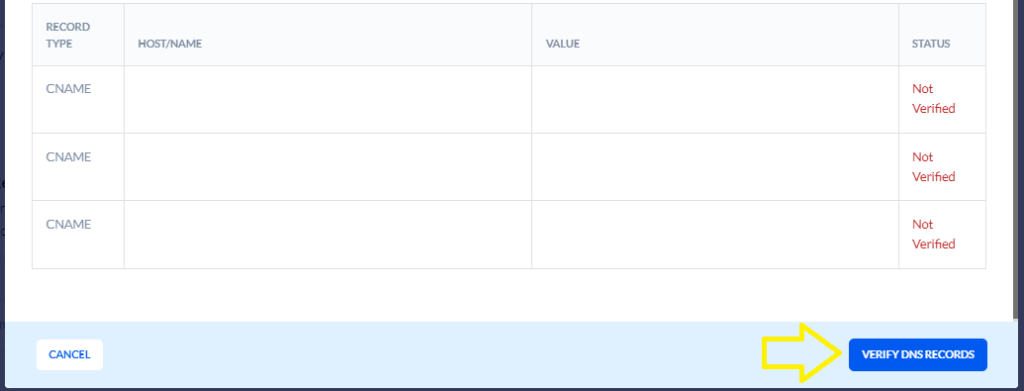
After 24 hours, return to Flashy and click the "Verify DNS records" button that appears at the bottom of that screen.
You can find there the current status of each record.
After the domain has been successfully verified - create the sending profile
After the verification process is finished, you can see that all the records you added will appear in a verified status.
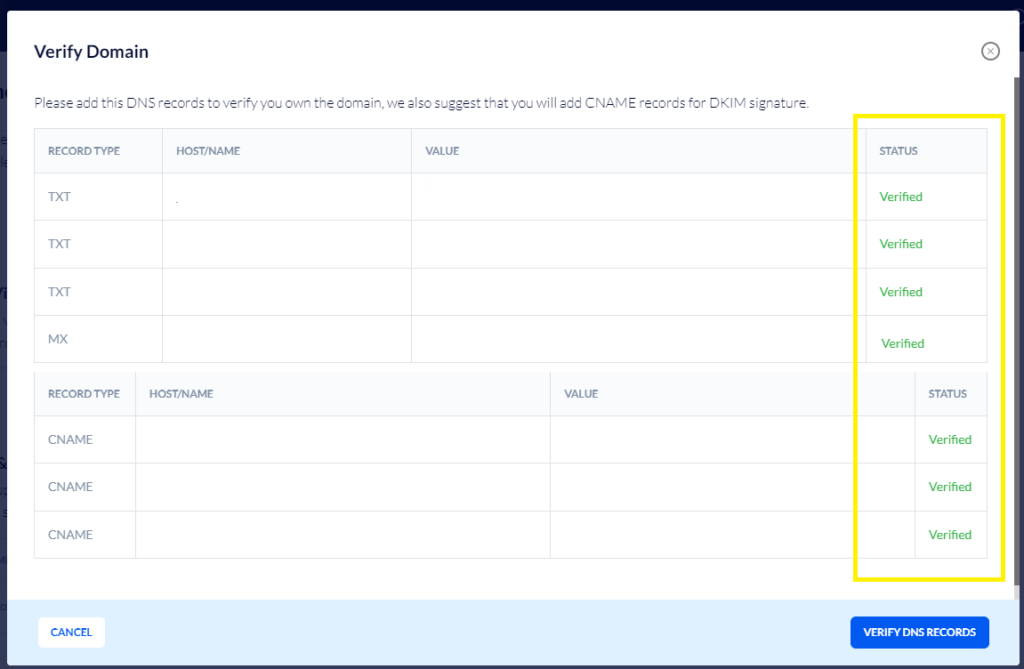
Now you need to create the sending profile.
- Please note - the sending profile must match the domain that is being verified.
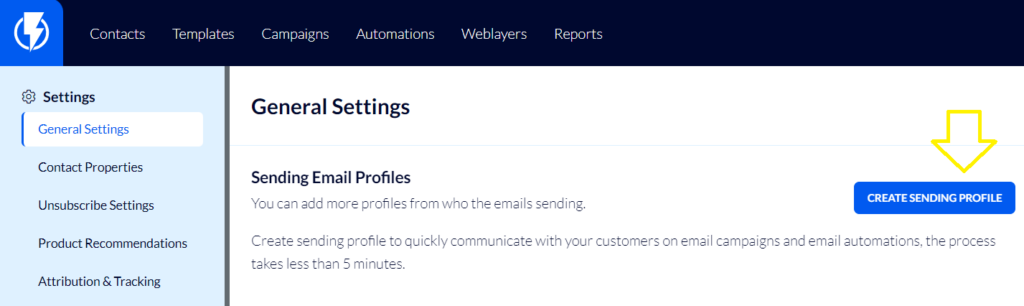
To create a sending profile, click on "Create Sending Profile" that appears at the top of the general settings screen:
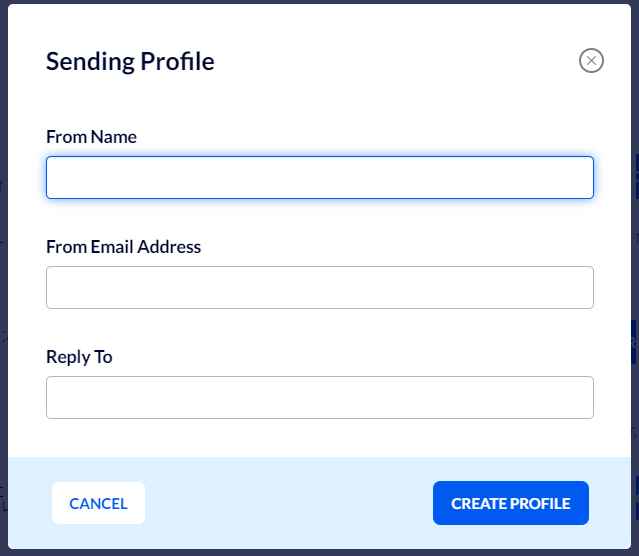
“From Name” - Name of your business.
“From Email Address” - Use your business email (of the domain that is being verified).
“Reply To” - Auto-fills with the same email address as above, but you can enter any address you choose.
Click on the blue “Create Profile” button.
that's it! You are ready to send emails from the platform 😊
